How to make an origami butterfly? This article shows you step by step how to fold an origami butterfly.
Origami is a Japanese art form that involves folding paper into beautiful shapes. The technique was originally developed during the Edo period (1603–1867) and has since become popular worldwide.
Origami is a great way to relax and unwind after a long day at work or school. It also helps children develop their fine motor skills and hand-eye coordination. In addition, origami is a fun hobby that anyone can enjoy.
What Is Origami?
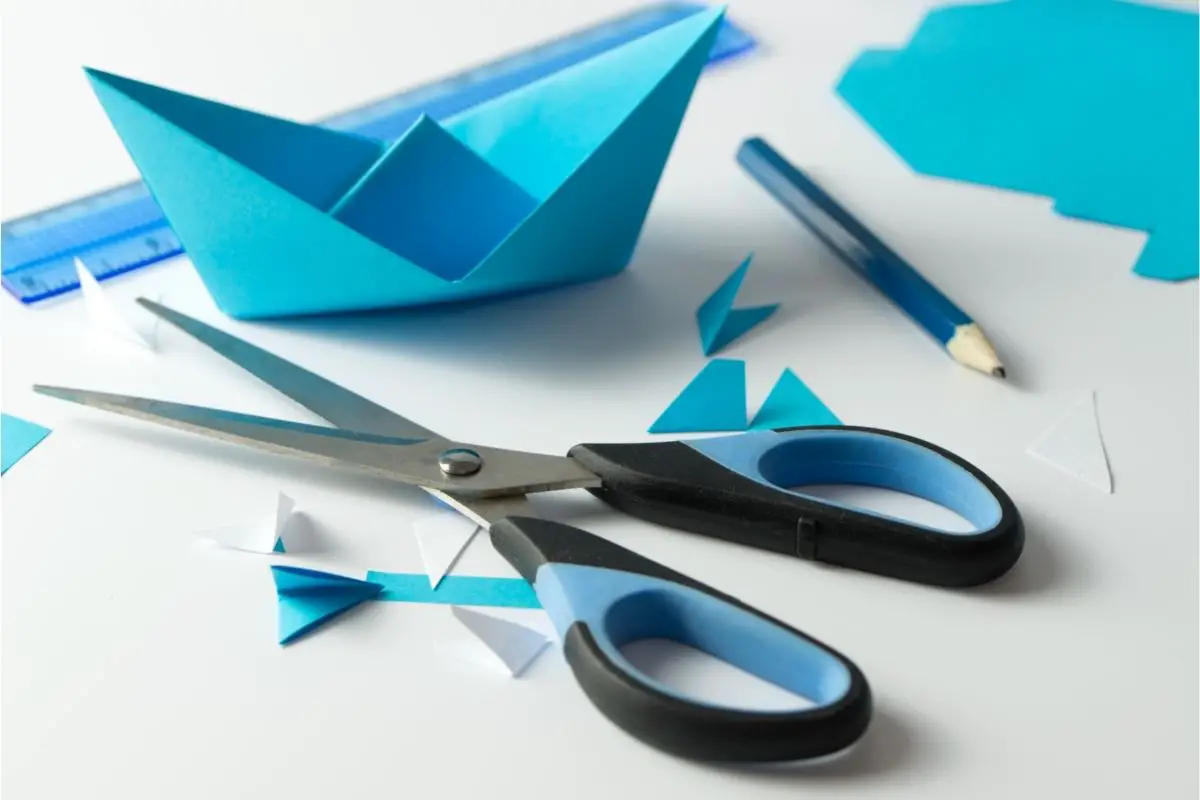
Origami is a traditional Japanese art form that dates back over 1,000 years. It requires no special equipment and its basic materials are ordinary paper and a pair of scissors.
There are two main types of origami: Japanese and Chinese. The Japanese version originated in Japan, while the Chinese version came from China. Both styles use the same techniques but have different names for each shape.
The word “origami” comes from the verb “oregairu” which means “to wrap something around.” The term “paper folding” refers to the act of creating various shapes out of sheets of paper.
Origami is usually done with square or rectangular pieces of paper, although triangular and hexagonal shapes are also used. There are many ways to fold a piece of paper. Some people prefer to start with a flat sheet and then roll it up; others like to begin with a rolled-up sheet and flatten it.
The most important thing when folding is to keep your lines straight and even. You should never fold one side of the paper first before the other. If you do this, the resulting folds will not be smooth and will look uneven.
When making a folded object, it is best to start on the inside of the crease line so that you don’t end up with any wrinkles. Start with a single layer of paper and fold it as if you were wrapping a present. Fold the corners towards the center until they meet in the middle. Then unfold the whole thing and repeat the process.
When cutting out the paper, try to cut along the grain direction so that the edges remain strong.
Before you start making your origami butterfly, there are a few things you may need.
What You’ll Need:

- Origami paper
- Steady hands
- A pinch of resilience!
You can use regular paper, but origami paper is thicker, and colored which is what you want to make a butterfly. If you don’t have any origami paper, you can use printing paper or any colored card or pages from old books or coloring pads.
Let’s find out how to make an origami butterfly!
How To Make An Origami Butterfly:
- Grab a regular sized piece of paper, and fold it in half. If it is colored paper, the white side should be. on the inside to create something called a mountain fold.
- Open the piece of paper and fold it in half, the opposite way that you did the first time.
- Next, open up the piece of paper, and fold along both diagonal sides, so it creates two additional mountain folds.
- Flip over the piece of paper so that the colored side is facing towards the floor/downwards.
- Bring in the sides of the piece of paper so that they meet the middle.
- Fold the center folds inwards, and collapse to form a triangle. After you have done this, you have your waterbomb base. This will help stabilize the shape of the butterfly when it is complete.
- Fold the top layer of both corners upwards to meet in the middle.
- Once you have done this, flip over the structure, and lift the bottom corner upwards. It needs to be folded past the top edge so that the tips extend over the top of the straight edges.
- Make sure that the center of the structure is flat, but do not flatten the edges of the crease.
- Fold the tip of the triangle on itself and create a crease.
- Fold the structure in half. This will now look like a full formed butterfly.
Tips And Tricks:
If you are having trouble folding the wings, simply add more layers. The more layers you add, the easier it will be to fold the wings. Also, remember to always fold the paper in the same direction. If you fold the paper in the wrong direction, the result will be crooked.
Origami can be difficult to master and take practice to perfect. But once you get the hang of it, you’ll see why it has been around for thousands of years.
What To Do With Your Origami Butterfly
Once you’ve made your origami butterfly, you can put it in many places, or even gift it to somebody. You can place it into a vase, frame it, or even give it away as a gift.
Here Are Some Ideas Of Where To Put Your Origami Butterfly:
- Place it into a vase and fill it with flowers.
- Cut out the design and frame it.
- Give it away as a gift ! Write the recipient’s name on the back of the origami butterfly, then wrap it in tissue paper and tie it with a ribbon.
What Is The Purpose Of Origami?
Origami is used to express feelings, thoughts, and emotions. There are many types of origami, including traditional Japanese origami, Chinese origami, Korean origami, and American origami.
Traditional Japanese origami was created by the ancient Japanese people. They use it to express their feelings about nature, love, peace, friendship, and other things.
Chinese origami is also known as paper cutting art. It was developed by Chinese people who wanted to express themselves through the beauty of paper.
Korean origami is a type of origami that uses shapes and patterns to represent objects such as animals, birds, fish, insects, fruits, vegetables, and landscapes.
American origami is a new style of origami that was developed recently. It is very popular among young people because it allows them to express their creativity using paper.
Final Thoughts
Origami is difficult to get started with, but once you get the hang of it, it’s enjoyable and easy. We hope we’ve given you a great tutorial on how to make an origami butterfly.


