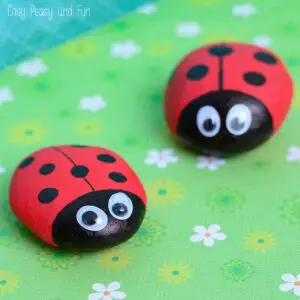
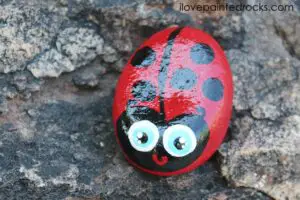
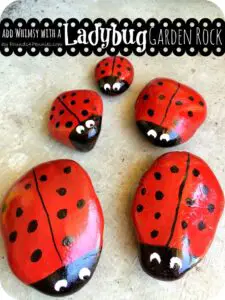
When you are out on your regular morning or evening walk, you can collect a few small rocks and turn them into dainty ladybugs by painting. It is unbelievable how such a ordinary object can be turned into something so attractive. Just a few strokes of your paintbrush, and you are done. But you need to clean the rocks before painting them.
Make Your Own Ladybug Painted Rocks
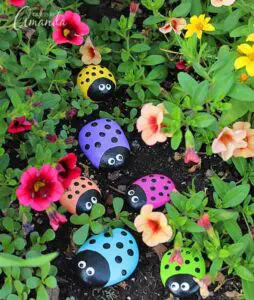
The DIY ladybug rocks look great indoors as well as outdoors. You can have them scattered all around the garden.
Instructions to Paint Ladybug Rocks
This can be a great summer and spring craft to do with the entire family. Kids can do it as a camping craft.
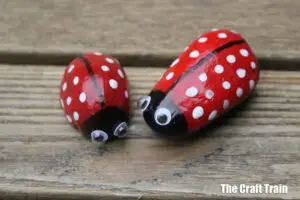
The supplies for this project are Posca pens, rocks, mod podge, and pencil. The rocks are painted red, black, and white.
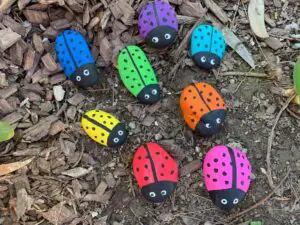
We love how the ladybug rocks in this DIY have been painted red, orange, yellow, orange, and even tan! It is because the pretty insect is not always red in nature.
These ladybug painted rocks can be used to decorate your garden. You can either collect the river rocks from outdoors or find them at any home improvement store.
Even if you think you are not much of an artist, you will not find this ladybug painted rock idea hard to execute.
These gorgeous painted stones can add pizzazz to your lawn or garden. Usually, you will have tons of stones lying outside your home. But if you can’t find them, you can do the project with rocks bought from any craft store.
Ladybug Mandala Rock Painting Tutorial
Cute Ladybugs Painted On Rocks
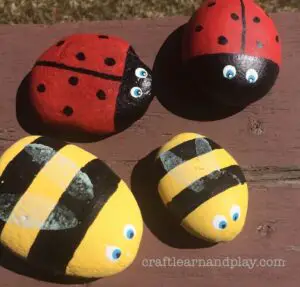
Painted Rock Ladybugs and Bees
After viewing all the pictures listed, you can click on the tutorial of one that appeals to you most and get all the details of making it. Almost all the guides given here provide you with step-by-step instructions that are very easy to follow.

