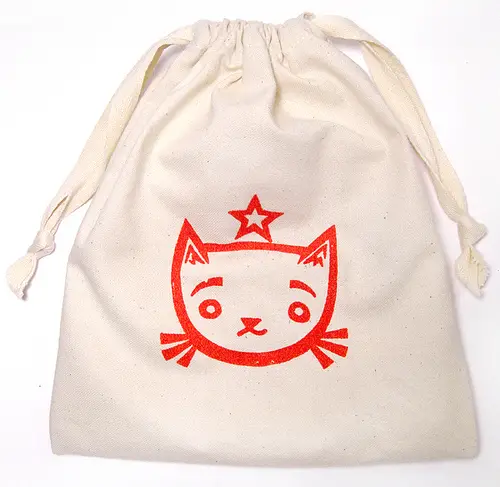
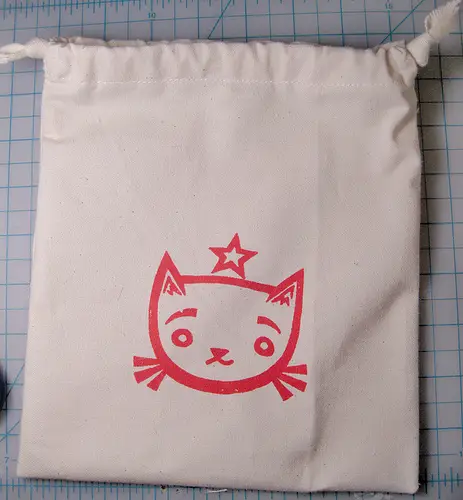
Bowling Kitty Set – Canvas Bag
What’s so good about a draw string bag? It’s perfect for holding all your little knick-knacks and great for little kids to store all of their little treasures. I used to love having a bag for all my toys when I was younger, like jack & balls, puzzle pieces, or just random collections of *stuff*.
This tutorial is for a simple bag with French seams.
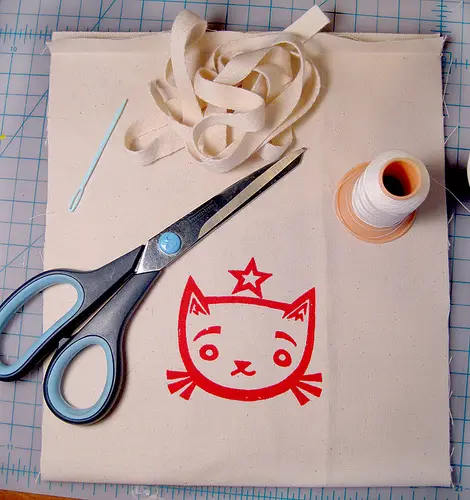
SUPPLIES NEEDED
Canvas Bag Tutorial
- Fabric for your bag >>
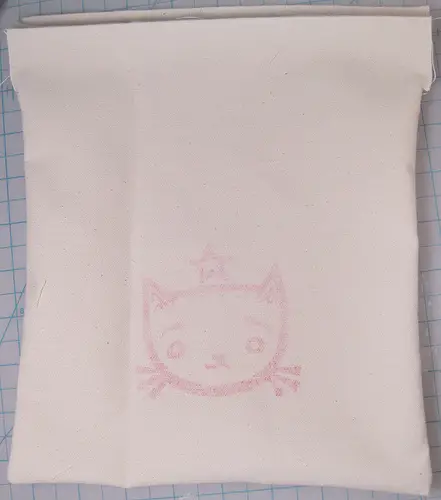
Figure out what size bag you would like. Then to those measurements add 1/2″ on the left and right side and 2″ to the top for seam allowance and your drawstring casing. The bottom should be the fold of the bag. Notch the sides of the bag 2″ down from the top. Your pattern should look like this.
The bag I made will measure 9″ x 10″ after it is sewn. That means my pattern will be 10″ x 12″ or (9″ + 1/2″ + 1/2″) x (10″ + 2″).
Don’t forget to cut on a fold! - Drawstring. I used cotton twill tape measuring 1/2″ wide. A pretty ribbon will just as well.
- Large eyed needle to thread the drawstring (a bobby pin or small safety pin will work too)
- Thread
- Scissors or thread clippers
- Sewing machine or thread and needle if you want to hand sew
OK ready? Now on to the instructions…
INSTRUCTIONS
Canvas Bag Tutorial 01
-
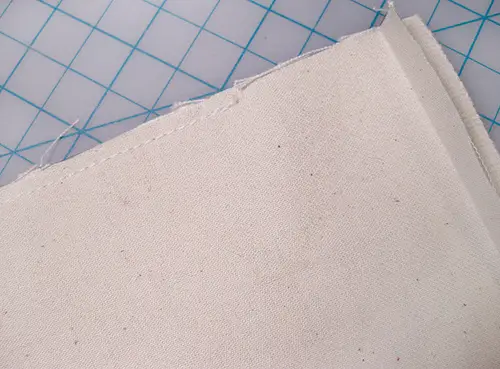
- With your RIGHT SIDES OUT, sew a 1/8″ seam along the sides (if that makes you nervous, you can sew a 1/4″ seam and trim 1/8″ off after you finish. This will make your bag a little smaller when finished). Stop right at your notches (remember the one 2″ below the top?). Backstitch the ends.
Canvas Bag Tutorial 02
-
- Turn inside out.

Canvas Bag Tutorial 03
-
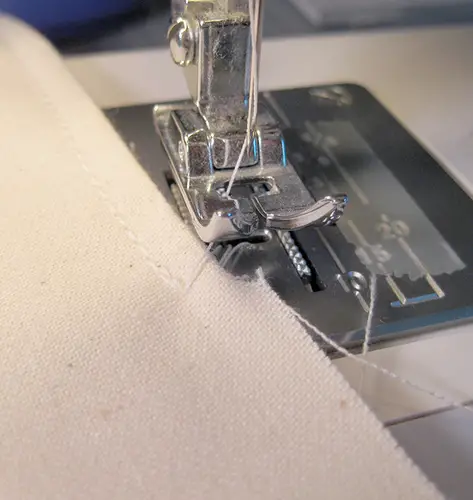
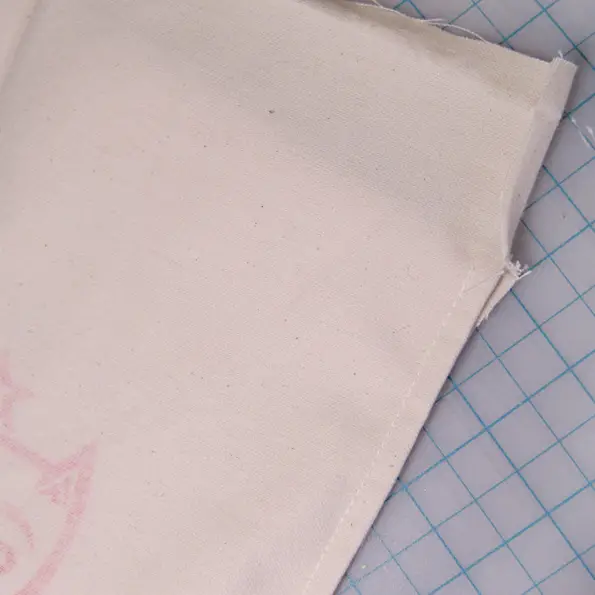
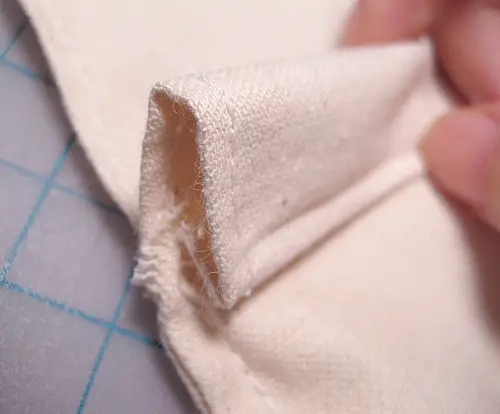
- Stitch 1/4″ along sides from edge. I like to use my presser foot as a guide (as seen in picture). You want to encase the raw edges. If your edges are frayed, trim them before sewing, otherwise you will have ugly fringes on the outside of your bag that look like this. If that happens, just trim them off as best you can.
Canvas Bag Tutorial 04
-
- Make sure you backstitch and stop right at the notch.
Canvas Bag Tutorial 05
-
- Fold the upper portion of the bag inward 1/4″. If your fabric is thick, you can iron it to stay flat.

Canvas Bag Tutorial 05
-
- Stitch between 1/16″ – 1/8″ from edge.

Canvas Bag Tutorial 07
-
- I like to sew this part with the fold facing right and the body of the bag on my left hand side (as seen above). This way you can sew down the edge of both sides in 1 swoop. See the above image to see what I mean. Just sew right over the sewn edge/divide, don’t be scared!
Canvas Bag Tutorial 08
- Repeat on the other side.
- I like to sew this part with the fold facing right and the body of the bag on my left hand side (as seen above). This way you can sew down the edge of both sides in 1 swoop. See the above image to see what I mean. Just sew right over the sewn edge/divide, don’t be scared!


Canvas Bag Tutorial 09
-
- When you are finished this is what it will look like.
Canvas Bag Tutorial 10
-
- Now fold the top in 1/4″ – 1/2″
Canvas Bag Tutorial 11
-
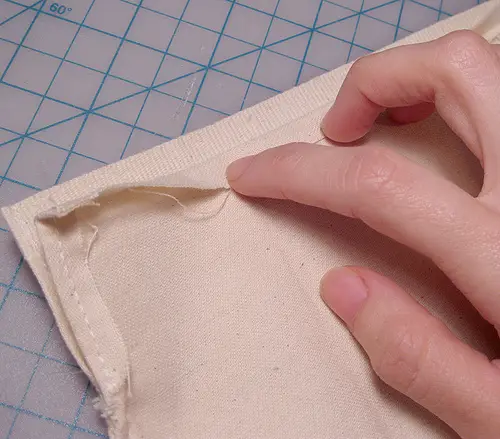
- Fold over again so that the edge meets your notch. If this is difficult to do, you can use a pencil and ruler to draw straight lines and fold along those lines, then press flat. Otherwise you can use your nails to crease the fabric flat. You may also hand stitch or pin in place to make sewing by machine easier.

Canvas Bag Tutorial 12
-
- When sewing you want to make sure the edge closest to the bottom of the bag is being sewn to the body of the bag. Ideally this will be 1/16″ – 1/8″ away from the edge. It doesn’t really matter as long as you catch the first fold you made- otherwise the raw edge will be exposed and may fray if you wash your bag.
Make sure you are only sewing/working on ONE side of your bag.
Use the edge closest to the top as a reference for making a straight line. Ideally both lines will be straight, however if they aren’t, it won’t be noticeable if you use the upper edge as a guide.
Backstitch the ends a few times for security.
- When sewing you want to make sure the edge closest to the bottom of the bag is being sewn to the body of the bag. Ideally this will be 1/16″ – 1/8″ away from the edge. It doesn’t really matter as long as you catch the first fold you made- otherwise the raw edge will be exposed and may fray if you wash your bag.

Canvas Bag Tutorial 13
-
- Now that you have one side finished, turn over and repeat… Fold the top over 1/4 – 1/2″ and then again so that the folded edge meets your notch. Make sure your 2 folded edges line up (above image).

Canvas Bag Tutorial 14
-
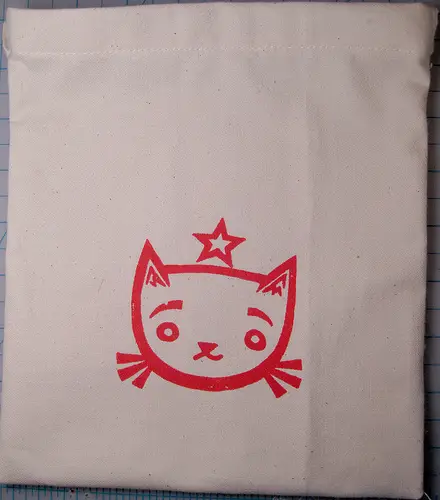
- You now have your casing for the drawstring!
Canvas Bag Tutorial 15
-
- Turn your bag inside out.
Canvas Bag Tutorial 16
-
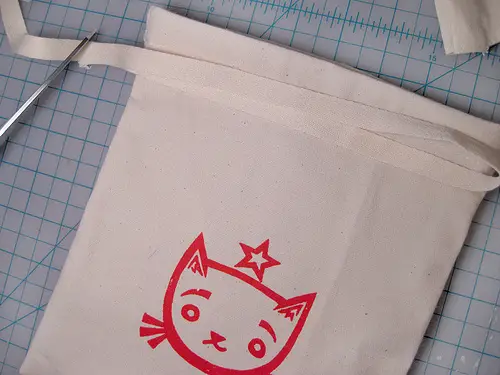
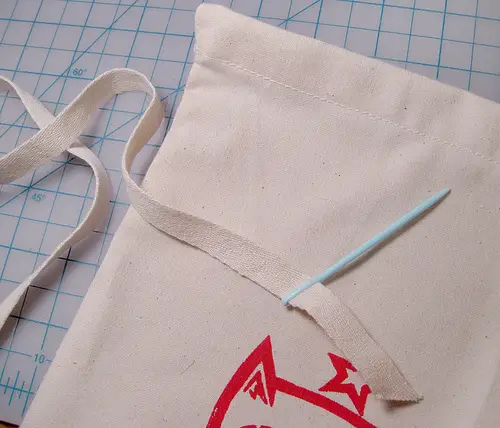
- Grab your drawstring and lay it on your bag. You want it to measure twice the width of your bag plus 2-4″ extra at the ends. This is 1 cord. Cut 1 more the same length.
Canvas Bag Tutorial 17
Canvas Bag Tutorial 18
-
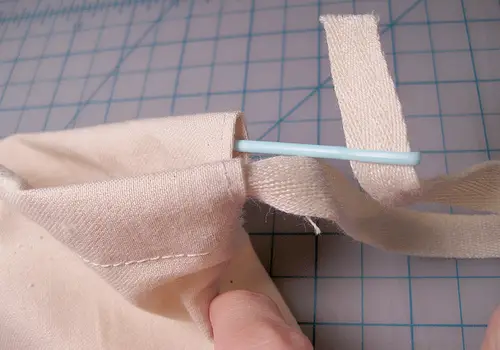
- Grab one of your cords and thread it using your large-eyed needle (or bobby pin or small safety pin). Start threading your cord into the casing.
Canvas Bag Tutorial 19
-
- When you come to the other side, continue threading the drawstring into the back casing.
Canvas Bag Tutorial 21
-
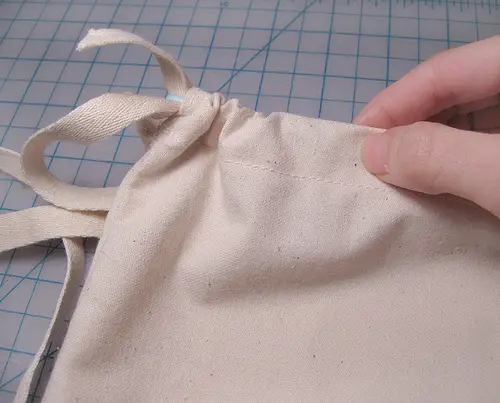
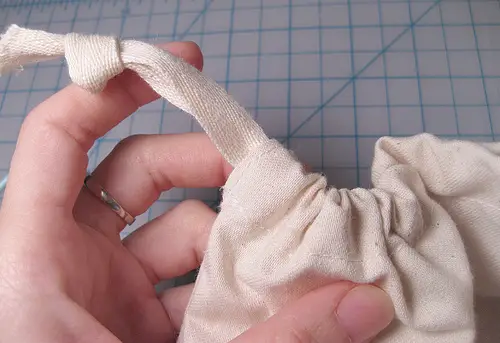
- When you are finished, tie the ends into a knot. I like to use a slip knot. If you need more room to tie a knot, just push the fabric back to expose more cording.

Canvas Bag Tutorial 22
-
- Grab your other cord and thread it from the opposite side of the bag.

Canvas Bag Tutorial 23
-
- Tie your knot on the other side.
Canvas Bag Tutorial 24
Canvas Bag Tutorial 25
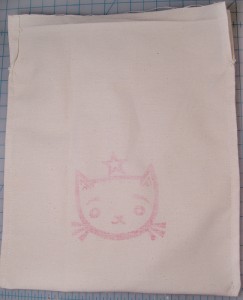
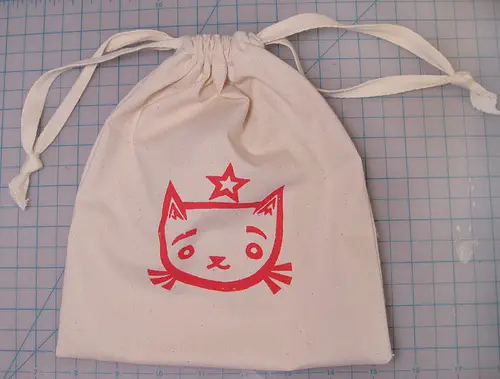
- Viola! Finished!
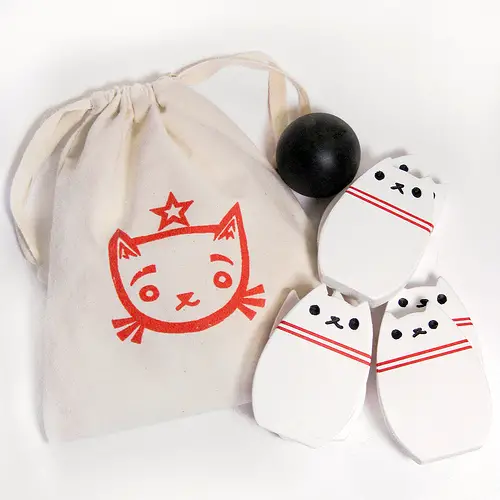
Bowling Kitty Set White
Now you can use your reusable/washable/eco-friendly bag to store whatever you want. Ours will be used for our Handmade Bowling Kitty Set.