Volcanoes are an incredible geological spectacle and kids are often fascinated with the way they work. Making a model volcano for kids can be an extremely fun and educational experiment!
Not only is it safe and enjoyable to watch, but it can also be useful when teaching children about geology and how volcanic eruptions occur!
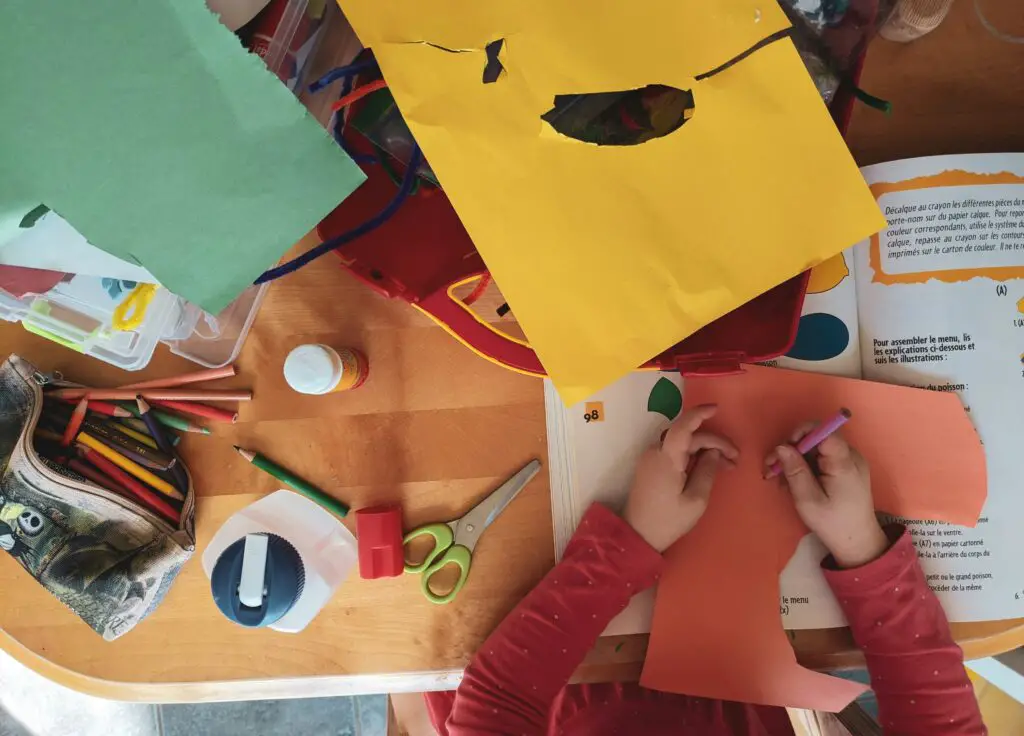
What makes this experiment so great is that building your own erupting volcano at home is easy to do and often achievable with materials you’re likely to have around the house, and if you do need to go purchase any of the materials, they shouldn’t cost too much either!
Below is the guide to absolutely everything you’ll need to build your model volcano and create an awesome recreation of an eruption!
Materials Needed
The materials needed for this little project are both inexpensive and easily available.
More importantly, they’re also safe for children to be around, so you shouldn’t have to worry about any danger if there’s any accidental consumption.
However, the experiment does require some cutting with scissors, and as usual, these experiments do tend to be rather messy, so it is perhaps best that these sorts of experiments are always best done with the supervision of a responsible adult!
For The Volcano Decoration
- Two sheets of A3 card paper
- 300ml Plastic bottle
- Pen or pencil
- Scissors
- Tape
- Paint and paintbrushes, or felt tip markers
For The Eruption/Reaction
- Bowl
- A cup
- 1 Tablespoon (tbsp) bicarbonate of soda (baking soda)
- 1 Tablespoon of washing up liquid
- 2 Tablespoons of water
- ½ cup of vinegar
- 1 Tablespoon of food coloring (Red or orange are the best for this!)
Method
For The Volcano
- Firstly, put your bottle upside down in the center of one of the sheets of card, use your pen/pencil and draw a circle around the neck of the bottle.
- Using the scissors (carefully), cut a line directly from the edge of the card to your circle in the center, and cut out the circle.
- Then, overlap the two sides to form a cone shape with the card, leaving the hole you cut in the first step, then use the tape in order to hold it together.
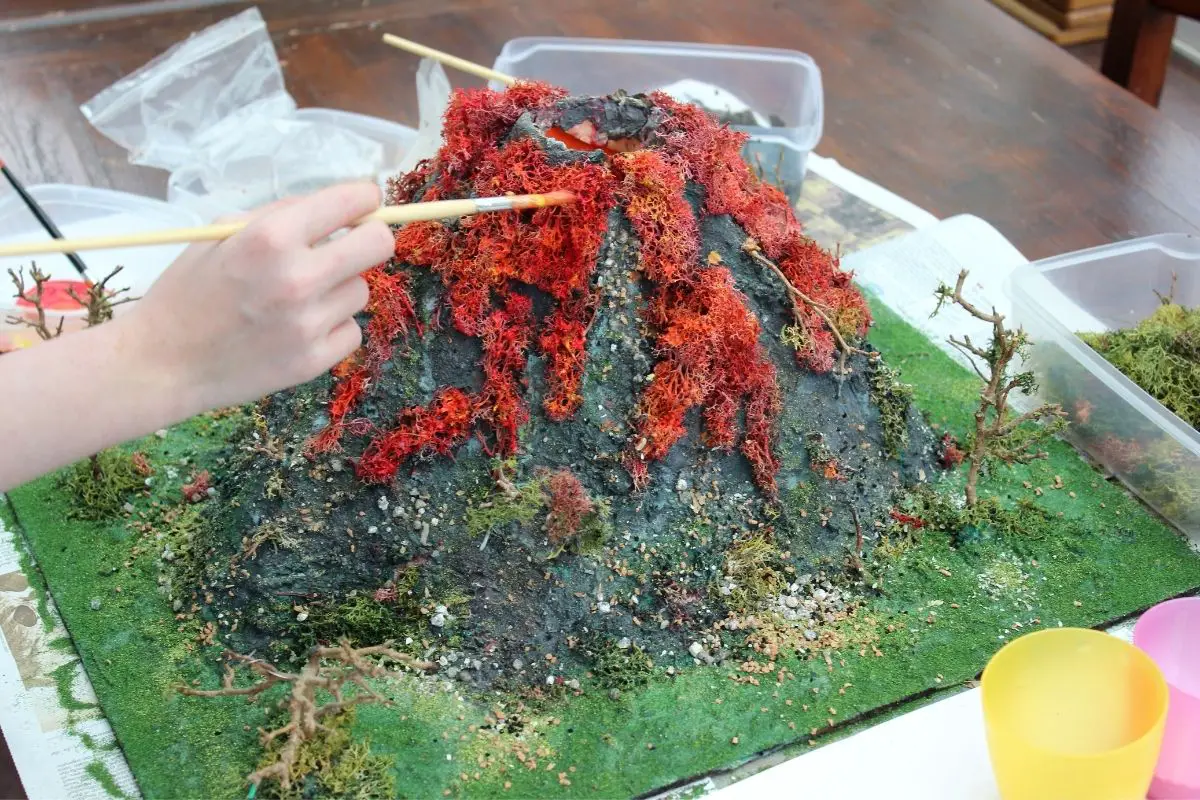
- Next, cut the base of the cone so that it sits flat, but make sure that it is still taller than your bottle. This shape makes up the mountain part of your volcano.
- Place the cone over the top of your bottle, then tape the top of the paper card cone to the neck of the bottle and it should hold in place. Finish by taping the cone to the other piece of card.
- Finally, you get to decorate your volcano! Look at some pictures online and see if you can try to make it look like a real volcano. Leave it to dry and then get ready to prepare your lava!
For The Eruption
Now that you have your model volcano all dried and ready, it’s time to make the mixture for the Eruption.
- In your bowl, add the bicarbonate of soda and the washing up liquid, as well as the water, mix together, and add into the bottle of the volcano.
- In the cup, mix together the vinegar and the food coloring.
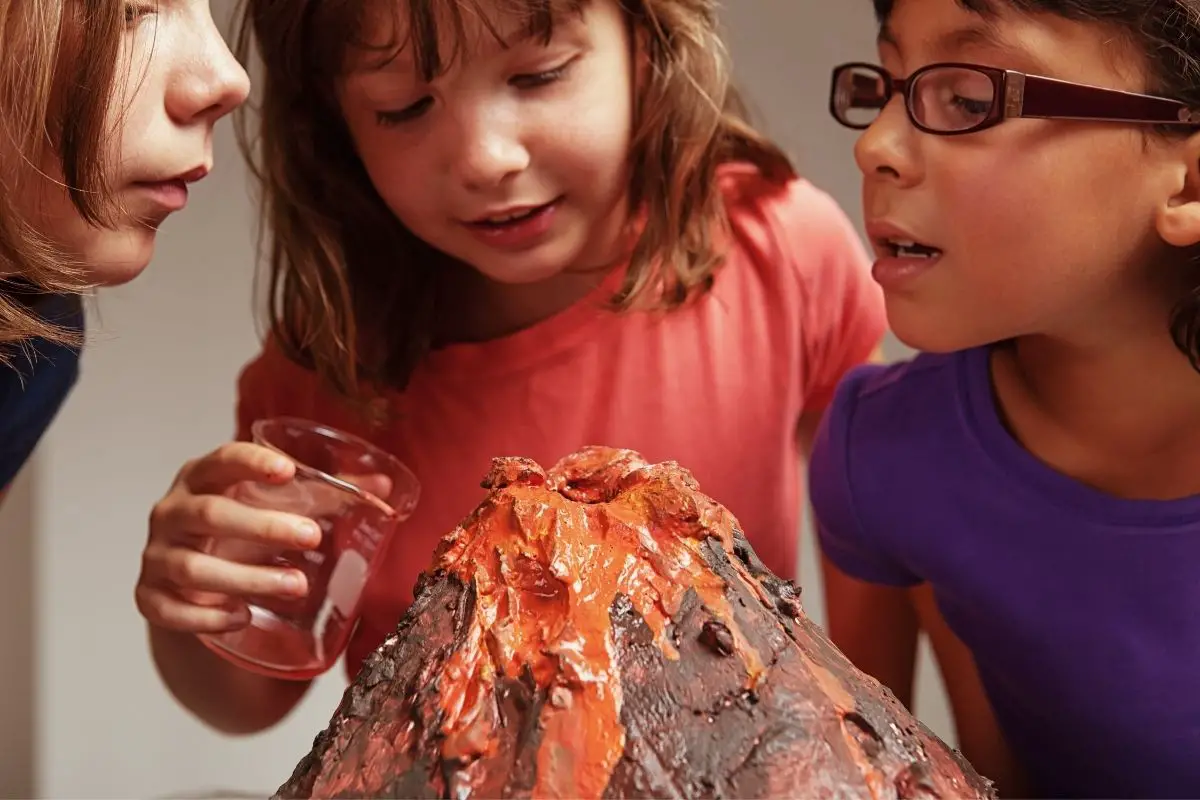
- Finally, you’re ready for the eruption. When you’re ready to watch the volcano erupt, simply pour the vinegar and food coloring mixture into the volcano, then stand back and watch as it erupts!
- This reaction can be repeated with your volcano over and over again!
How It Works
So how does this eruption work? Well when the vinegar and bicarbonate of soda mix together, they create carbon dioxide, which is a gas that is very excitable, the gas will try to spread, but will only manage to come out of the top of your volcano!
This reaction is both simple yet effective, and not only does it provide kids with an exciting display, but it also helps teach them about chemistry and how reactions work. So the model volcano is really a 2-in-1 learning experience!
Other Experiments To Try
Once you’ve tried the initial reaction, you should also try experimenting with the consistency of your lava. Some fun things you could try are:
- What happens when you add more vinegar to the mix?
- What happens if you use more bicarbonate of soda?
- What happens if you use more water?
You should take note of what happened in the first experiment, and then try other reactions with different amounts, and make notes on what was different about them!
Another fun thing to try would be changing the colors of your food coloring, who said your lava had to be red, why not blue? Or purple?
Fun Volcano Facts
Now that you’ve had fun watching your volcano erupt, why not learn some more about volcanoes with these fun facts!
- A volcano is a mountain that sometimes erupts.
- There are over 1,000 active volcanoes in the world.
- The rock under the earth’s surface is very hot! This melted rock is called “magma”.
- When magma comes out of the top of a volcano, it becomes “lava”.
- Every time a volcano erupts, it becomes a little bit bigger! This is because the lava cools and becomes a new layer of rock.
- Sometimes, volcanoes can form underwater.
- When a volcano erupts underwater, the magma can create new islands.
- Volcanoes don’t just form on earth, there are also volcanoes on the moon and some other planets!
Experiments like this help keep kids involved and engaged with what they’re learning, and it’s important to help facilitate some fun within their learning too!
This particular experiment can be extremely fun for kids and is a very popular experiment to see, as well as being educational.
Hopefully, they had as much fun making and creating the model as they did seeing it erupt!