How would you describe your style? Do you love to wear lots of jewelry or just a few pieces? Maybe you prefer something in between?
Whatever your answer, you should definitely consider adding some of your very own adjustable jewelry to your wardrobe. Not only is it a fashion statement, but it is also a way to express your personality.
Jewelry is a great accessory because it adds color and sparkle to your outfit. There are so many ways to wear jewelry, from simple earrings to elaborate necklaces. The key is to choose pieces that suit your personal taste and lifestyle – and this is where adjustable bracelets come into play.
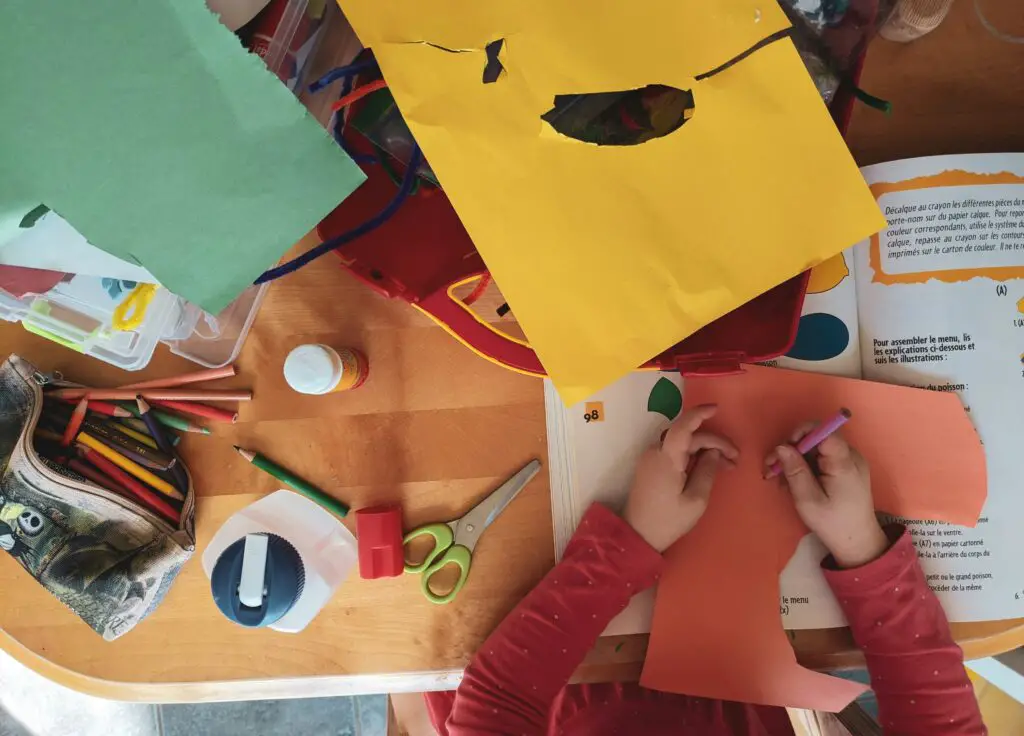
You can easily create your own jewelry at home using materials found around the house. This DIY project involves cutting out shapes from paper and then gluing them onto a piece of wood. Once the glue dries, you can paint the wood to give it a unique look.
The best part about this craft project is that it’s easy for kids to help with. They will love helping you create your very own adjustable bracelets, or perhaps they can even make their own.
Let’s jump right in, whenever you’re ready!
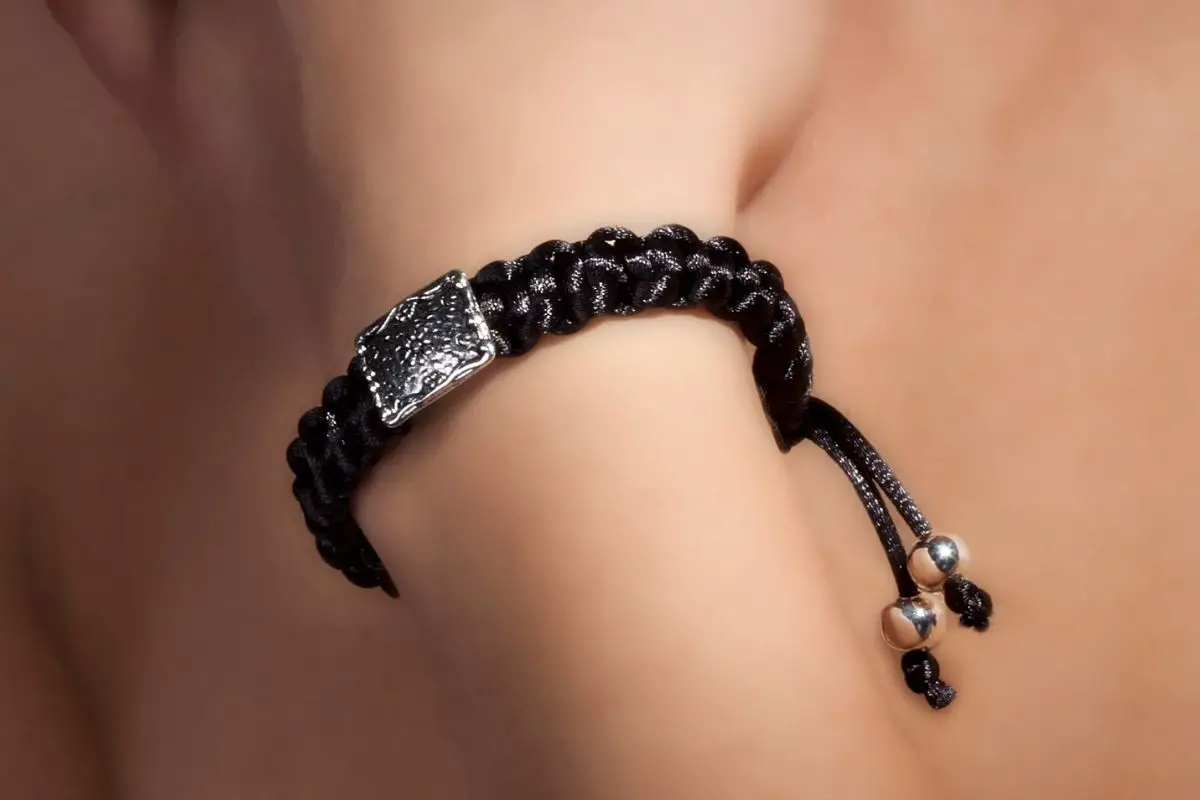
Here’s How To Make Your Very Own Adjustable Bracelet From Home
If you want to make your own bracelet, one of the biggest issues that most people find themselves facing is that their bracelet simply doesn’t fit them!
So, in order to make sure that your bracelet fits correctly, read on for a simple method that allows you to effortlessly make an adjustable bracelet in no time at all:
Step One
First thing first, you’ll need to choose a material that you like. You can use any type of material as long as it suits your needs. For example, if you plan on making a bracelet that you’d like to be able to adjust, you should consider using elastic.
This is because elastic stretches when pulled apart. It’s important to note that you don’t have to stick to just elasticity though. In fact, there are many different types of materials out there that you can use to make your own bracelet. Some examples include leather, nylon, cotton, silk, etc.
Step Two
Next, you’ll want to cut your material into strips. The length of your strips depends on how much room you want to leave between each end of your bracelet.
Generally speaking, the longer the distance between each end of your strip, the more room you’ll have to move the ends together or apart. However, this isn’t necessarily true.
There are other factors that you must take into consideration before cutting your material.
One such factor is whether, or not, you want your bracelet to be stretchy. If so, then you’ll want to keep the distance between the two ends of your strip fairly short.
On the other hand, if you want your bracelet to remain tight, then you’ll want a larger gap between the two ends.
Step Three
Before you go ahead and tie your bracelet up, you should then proceed to decorate your bracelet how you would like. You can do this by adding beads, charms, or whatever else you might think looks nice. Just remember to keep things light-weighted.
Otherwise, your bracelet could become heavy and cumbersome to wear. Keep in mind that this step is entirely optional – feel free to leave your bracelet as it is.
Step Four
Once you’ve decided on the size of your strips, you’ll next want to fold them over. Folded over, the strips will form a loop. Now, you may notice that the folded-over portion of your strip looks slightly different from the rest of it.
That’s okay. What you’re looking for now is a smooth edge. To achieve this, you’ll want to gently press the edges of your folded-over strips against each other.
Step Five
After pressing the edges of your folded strips together, you’ll want to tie them off. Tie-off means that you’ll want to secure the ends of your folded strips by tying knots. As you do this, remember to tie them tight enough so that they won’t slip back through the folds.
Also, try to avoid knotting too close to the center of your strip. This is because it can cause the knot to become loose.
Step Six
Finally, you’ll want to trim away any excess material from around your knot. Trimming away the excess material will ensure that your knot remains securely tied. After you have done this, you will have your very own adjustable bracelet ready to be worn!
Why Would You Make An Adjustable Bracelet?
Now that you know how to make an adjustable bracelet, you might be wondering why you would make one. There are lots of potential reasons why you might decide to make an adjustment bracelet, so let’s take a look at what they are.
As A Homemade Gift
The first reason you might make an adjustable bracelet is to give it as a homemade gift to a loved one.
It is one thing to give somebody a bracelet that you have bought at a store, but it is an entirely different gift if you make that bracelet yourself.
A homemade bracelet means so much more than a bracelet that you buy at a store, simply because of the time and effort that has gone into making it. It is so much more special, and the person that you give it to will really appreciate that.
For Yourself
Or, you might simply choose to make an adjustable bracelet for yourself. If you can’t find a bracelet that suits your style, or the outfit that you want to wear it with, you could make your own bracelet, and solve all your outfit problems!
Wrapping Up
Making a bracelet is easy once you know what you’re doing. Make sure to follow these steps carefully, and you’ll soon find yourself with an awesome new piece of jewelry. Thanks for reading!