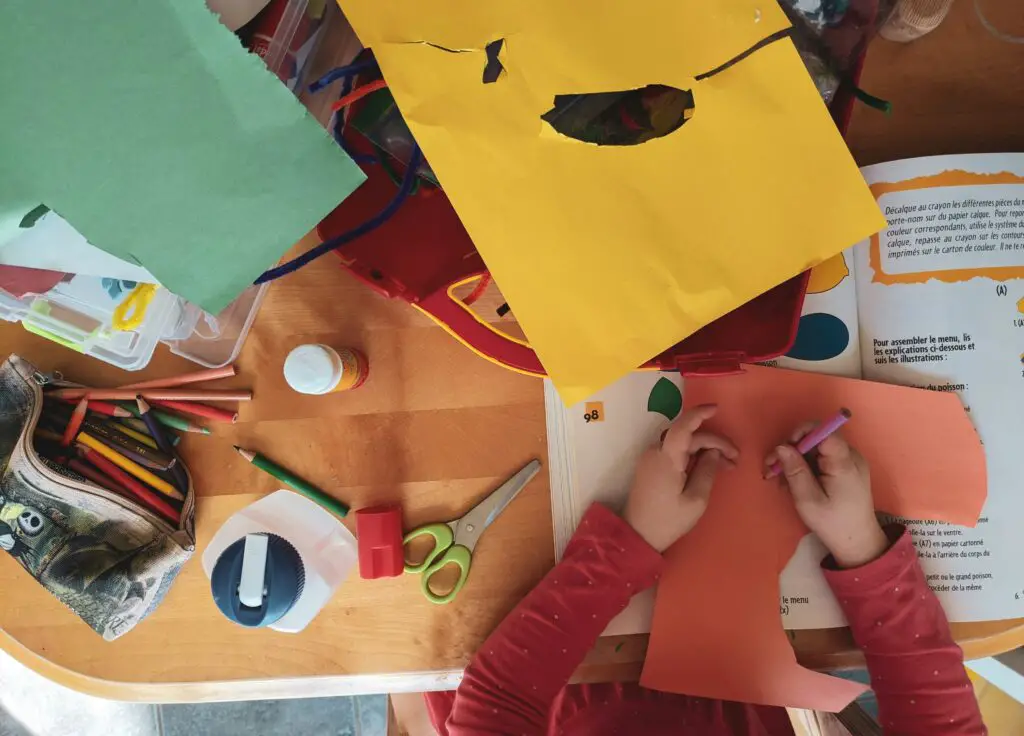
Clay is a versatile material that can be molded into anything from jewelry to pottery.
Clay is a type of mineral called kaolin, which comes from rocks found deep underground. Kaolin has a high silica content, meaning it contains lots of silicon. This makes it great for making ceramics, because it helps them resist heat and not break down easily.
You don’t need special equipment or tools to make clay. All you need is sand, water, and some time. The secret lies in mixing the ingredients together until they form a doughy consistency. Then you can mold it into whatever shape you want.
So, without further ado, let’s make some clay!
Hot To Make Clay Using Sand And Water
This is a really simple method of making clay.
Step 1: Get Your Materials Ready
You will need:
- Sand (the finer the better)
- Water
- Bowl
- Wooden spoon
- Plenty of time
Step 2: Mix The Ingredients
Mix the sand with enough water so that it becomes damp. You should have about half as much sand as water.
You can begin by using a wooden spoon and then moving onto your hands once the mixture becomes tougher, or you can begin by just using your hands.
Step 3: Let It Dry
Let the mixture sit out on the countertop for at least an hour. If you’re working outside, place it somewhere shady. You want it to become firm, but not dry out completely, so keep your eye on it. The times may vary!
Step 4: Knead The Mixture
Once the mixture is nearly dried and still pliable, use your hands to knead it into a ball. It’s important not to squeeze too hard, or else you’ll end up breaking apart the particles of sand. Once you’ve formed the ball, roll it between your palms to get rid of any air bubbles.
Step 5: Shape The Clay
To shape the clay, use your fingers to flatten it into a disk. To do this, press firmly but gently against the clay while rotating it around its center. When you reach the edge, stop pressing and rotate again. Repeat this process until you have a circle.
To create a bowl, start by rolling the clay into a cylinder. Use both hands to keep the clay tight and smooth. Roll back and forth over the clay until you reach the desired size.
Step 4: Bake!
Bake the clay at 350 degrees Fahrenheit for 20 minutes. Keep checking on it to make sure that the clay is not burning. Again, the time may vary depending on how much you are baking at once, and the size of the pottery.
Step 5: Finishing Touches
After baking, allow the piece to cool completely. Once it has, you can add color by painting it with acrylics. You can also use a clear sealant to protect the pottery.
Now you should have a finished clay piece.
How To Make Clay Using Flour And Salt
Known as salt dough, it requires a few extra ingredients compared to the mixture above.
Step 1: Get Your Materials Ready
You will need:
- Sand (the finer the better)
- Flour (4 cups)
- Table Salt (1 cup)
- Water (1.5 cups)
- Bowl
- Wooden spoon
- Parchment paper
- Roller
- Plenty of time
Step 2: Mix The Ingredients
Using the wooden spoon, mix the ingredients in a bowl. Once it starts becoming hard work with the spoon, you can then use clean hands to finish it off.
If you find that the mixture is too sticky, add 1 tablespoon of flour in. If it is too hard, then add in a tablespoon of water.
Step 3: Knead The Dough
Now that you have a mixture that is dough-like, you can knead it for about 3 or 5 minutes. Once you are happy with the result, divide the clay up into different balls.
Step 4: Rolling The Dough
Once you have a few sections (4 is fine), roll each one around 1/4 or a half inches thick using parchment paper on the top and bottom to prevent sticking.
Step 5: Cutting The Shapes
Using cookie cutters, you can cut out different shapes. If you are really artistic, you can use a tool to cut out your own. Once finished, transfer each of the shapes onto a baking sheet that has parchment paper already on it.
Step 6: Bake!
Once you are finished, put them in the oven at 250 degrees Fahrenheit. You will want to bake them for around 2 to 3 hours, but check on them every 20 minutes or so.
What you are looking for is firmness. Just make sure they do not burn!
Step 7: Finishing Touches
Once they are ready to come out of the oven, let them cool completely. When they are done, you can paint the finished clay with acrylic paint.
To completely finish them and so that they last, especially if you are gifting the clay, you can buy a clear sealant that will protect the artwork.
How To Add Color To Clay
If you want to have different colors of clay dough, then there is an easy way to make this happen. When you have the mixture, separate clay into different bowls and add food coloring.
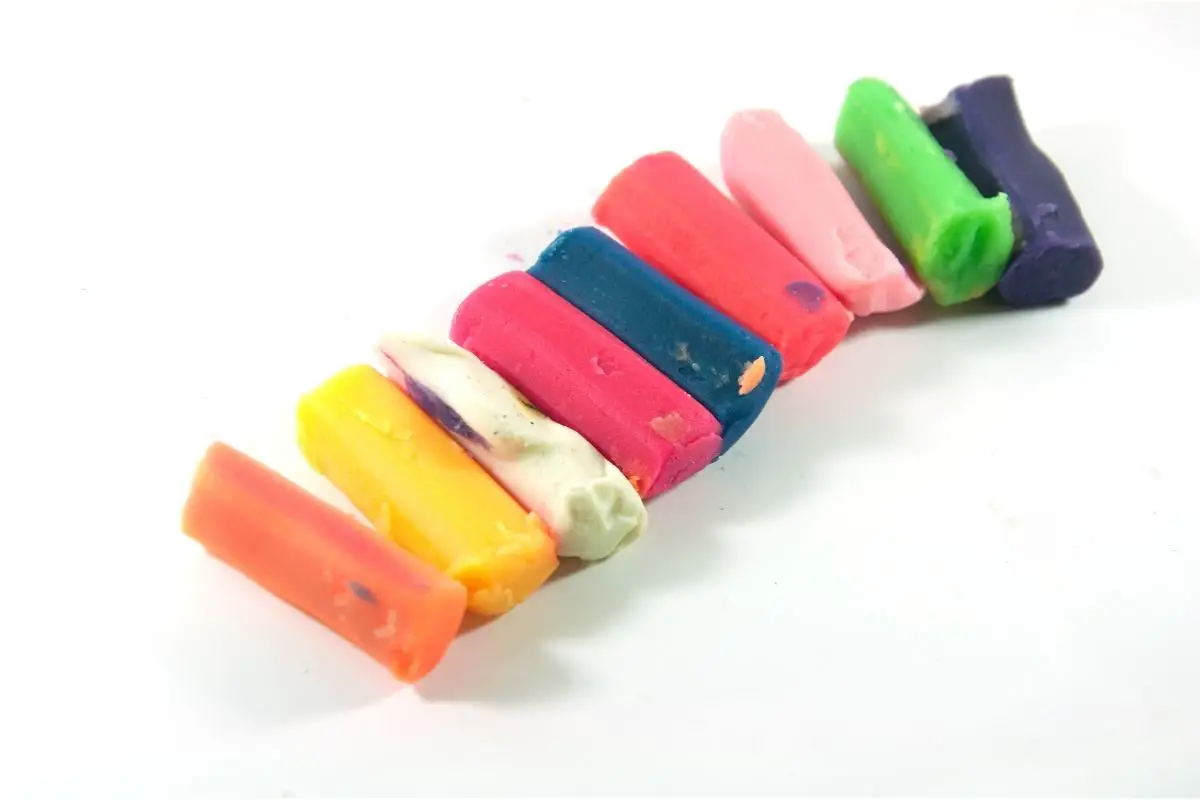
You may want to use a spoon to mix rather than your hands, as the food coloring will stain your skin – but only temporarily!
If that doesn’t sound like fun, you can always use acrylic paints once the pottery has cooled down. It makes a fun art project!
Tips For Making Clay
- Remember not to bake the clay for too long. You want it to harden, but not burn. So if you start to smell something, then you may have put the clay in the oven for far too long.
- Keep in mind not to make the clay project too thick. If you do, it is more likely to crack whilst it is baking, and that would be a shame.
- If you would like your clay masterpiece to have a golden and shiny appearance, then brush the finished clay mold with egg yolk before you place it in the oven.
Final Words
Making clay is fun and easy. It doesn’t require any special skills or experience. Just follow these steps and you’ll soon be creating your own pieces of art!