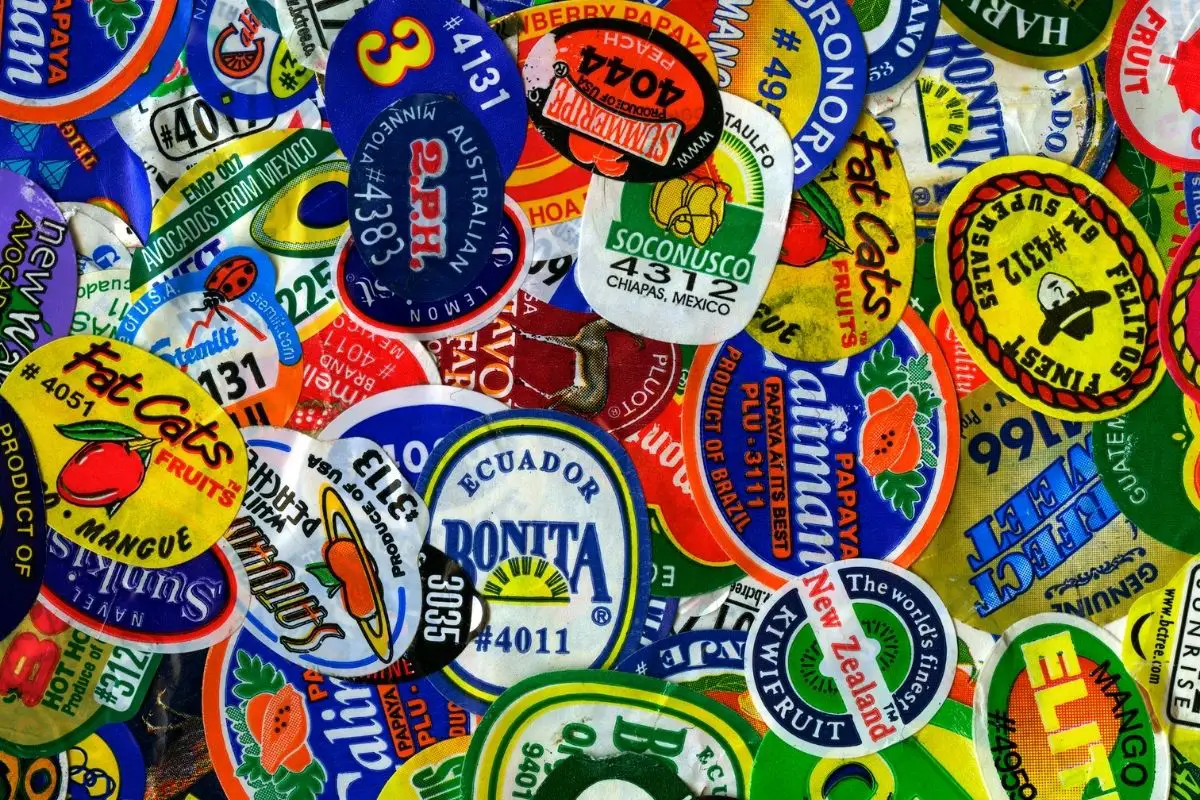
Stickers are everywhere. They are a fun thing to create that can give an item a unique look. They come in all shapes and sizes too, from simple designs to elaborate illustrations.
Whether you want to decorate your laptop or phone, create a unique gift for someone special, or simply add some fun to your everyday life, stickers are a great way to express yourself.
In this tutorial we will show how to make a sticker using Adobe Photoshop CC. We will start with the basics of creating a basic image, then move on to adding text and finishing off by adding a border.
You can also use Microsoft paint, but even with children, you can create some great stickers with design software such as Photoshop.
Making Stickers Using Adobe Photoshop
Let’s get started!
Step 1: Create A New Document
This will open up the new document window where you can name it whatever you like. Click OK when done.
Step 2: Select The Brush Tool (B)
The brush tool is used to paint images onto your canvas. It has many different settings which allow you to change the size, shape, opacity, color, etc. of the brush.
The default setting is B72, but if you prefer a different size click on the icon next to the brush tool and select another one.
Step 3: Change The Size Of The Brush
To change the size of the brush, hold down Alt/Option while clicking on the brush tool.
You can also use the keyboard shortcut Ctrl + T. This will increase the size of the brush. If you need to decrease the size, press Ctrl + Shift + T.
You can also double-click on the brush tool to quickly resize the brush.
Step 4: Add Some Color
Click on the Paint Bucket tool (P). This is located at the bottom right-hand side of your screen. Then drag over the area you would like to fill with color.
Click once to place the color inside the bucket, then click again to remove the color.
Step 5: Use The Eraser Tool (E)
The eraser tool is similar to the paint bucket, except it removes instead of adds. To erase something just click on the eraser tool and drag across the object you wish to remove.
Step 6: Draw Something Simple
Now let’s draw something really simple. Click on the Pencil Tool (N) and begin drawing. Once finished, click on the Erase button (Erase Tools) to delete what you drew.
Step 7: Add Text
Click on the Type Tool (T), and type away.
Step 8: Adjust The Font
Next, we’ll adjust the font. Click on the drop-down arrow next to the Type Tool (T) and choose a font.
Step 9: Add A Border
Finally, we’ll add a border around our image. Click on the Rectangle Tool (R) and draw out a rectangle.
Step 10: Save Your Image
Finally, save your file as a PNG or a JPEG.
Step 11: Print Your Sticker
Now that your sticker has been created, you will want to print it out. You can use sticker paper in the same way you would print normal paper.
You then have the option of using a Cricut machine or scissors to cut out the sticker.
And that’s it!
How To Create Homemade Stickers To Print Out
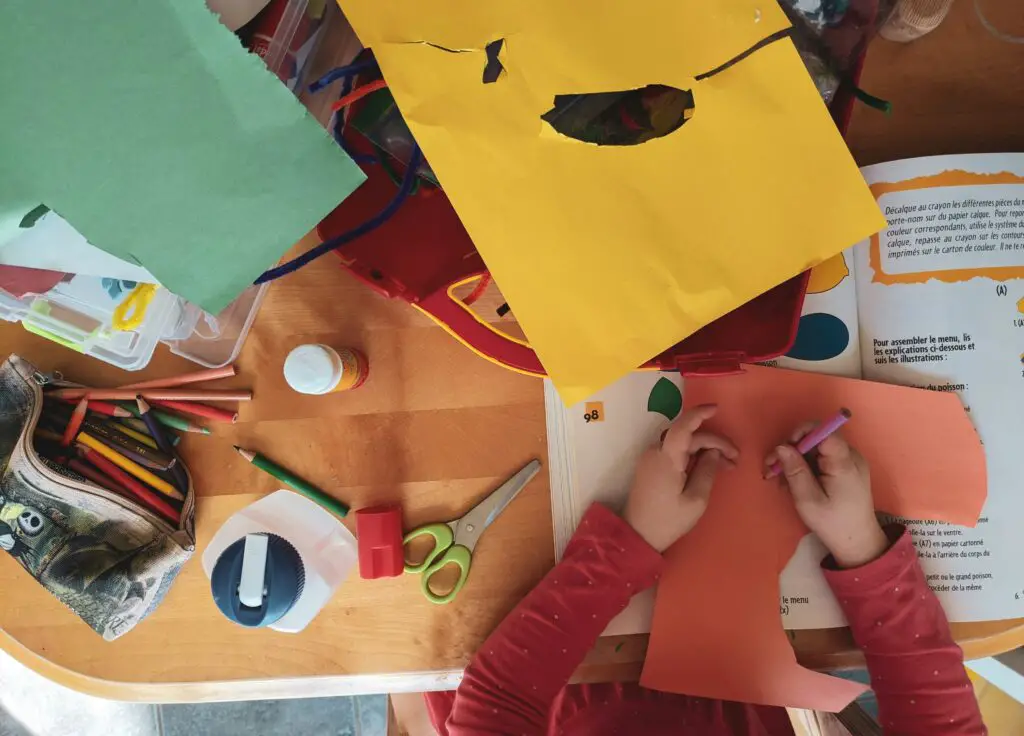
If you want an even simpler method, you can draw directly onto sticker paper.
This is especially useful if you have younger children who may not have used Photoshop before, or perhaps you do not have the software available – it can be expensive.
You can use crayons and colored pens to draw designs directly onto sticker paper. You can even go a step further and add glitter and paint.
Once finished, all you then need to do is cut it out. Once cut out, you will have a sticker!
Homemade Stickers For Kids Using Microsoft Word
Stickers are great fun for kids to make themselves, and they’re so much more creative than store bought ones.
Kids love making their own stickers because they get to design them however they like. They can create anything from cute animals to funny faces.
Kids can also personalize their stickers by adding names, words, pictures, etc.
If you want an easy way to make stickers that is done on the computer, then Microsoft Word is another good option.
You can print out pictures and text, and get creative without it being complicated.
Ideas For Printing Stickers
Here are some ideas for homemade stickers for kids:
- A picture of a favorite animal
- A picture of a friend or family member
- A picture of yourself
- A picture of your school or classroom
- A picture of someone special
- A picture of your favorite food
- A picture of something you love
- A picture of an activity
- A picture of an event
- A picture of the moon
- A picture of clouds
- A picture of rainbows
- A picture of flowers
- A picture of trees
- A picture of sunsets
- A picture of stars
- A picture of snowflakes
- A picture of Christmas lights
- A picture of Halloween decorations
- A picture of fireworks
- A picture of Easter eggs
- A picture of Thanksgiving decorations
- A picture with a message
- A picture of two friends together
- A birthday party invitation
- An invitation to a sleepover
- A thank-you note
- A letter to Santa Claus
- A Valentine’s Day card
Final Thoughts
Making your own stickers at home is a lot of fun and a great project for kids to work on together.
It doesn’t require any fancy equipment or skills, just a little time and creativity. As long as you keep things simple, you should find it a very rewarding experience.
We hope this tutorial helped you learn how to make homemade stickers in a variety of different ways. From using Photoshop, to Microsoft Word, or by hand, there are many ways to create fun stickers with your children.
Happy sticker making!