This is an original edition of Make it Monday- a weekly feature of tutorials.
This is also a Kids Craft tutorial- something appropriate and fun to do with your little one.
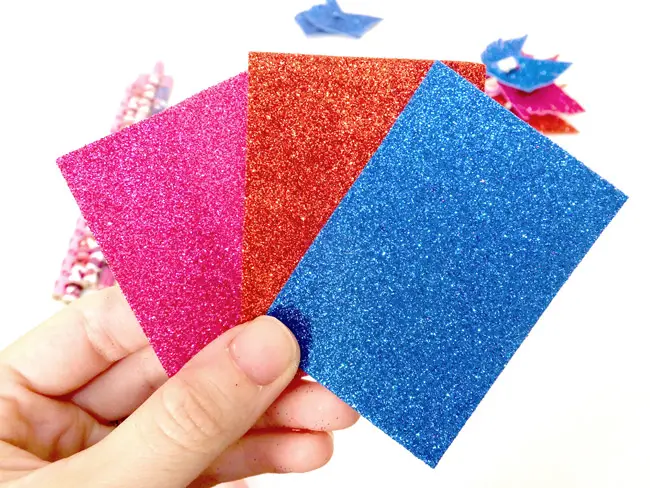
MATERIALS

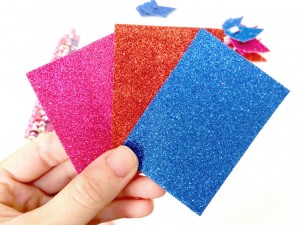
Cupids Arrows Pencil Toppers Materials
- paper (I used glittered craft foam sheets for durability)
- pencils (get a v-day pack from the dollar store)
- scissors
INSTRUCTIONS
I found that it was pretty challenging for Mikah to cut these out, so I pre-cut them and had him weave the pencil into the holes. He’ll use these for a Valentines Day goody bag for his friends.
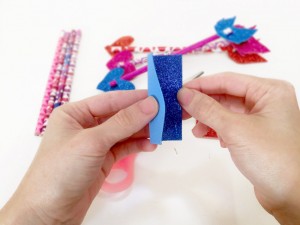
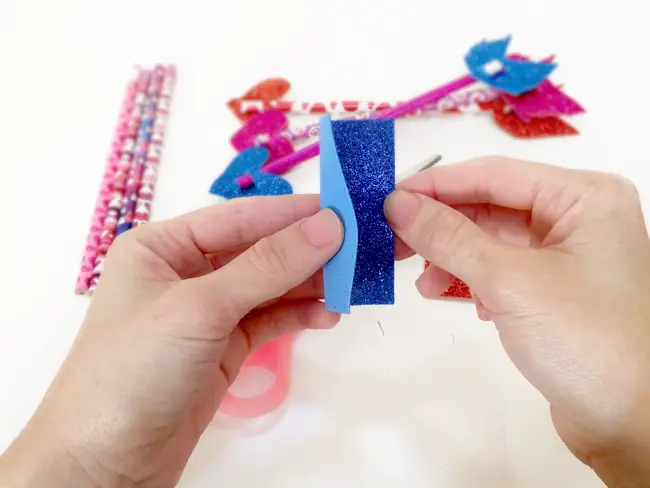
- Cut out sheets approximately business card sized (about 2″ x 3.5″) and fold in half.
Cupids Arrows Pencil Toppers Tutorial 01
Cupids Arrows Pencil Toppers Tutorial 02
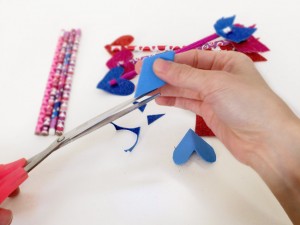
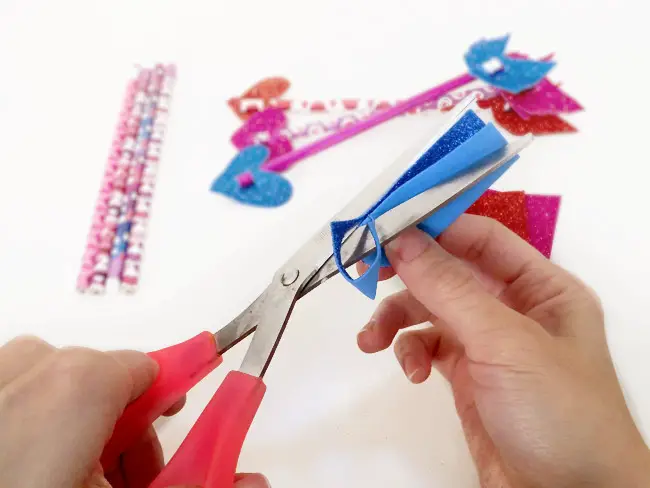
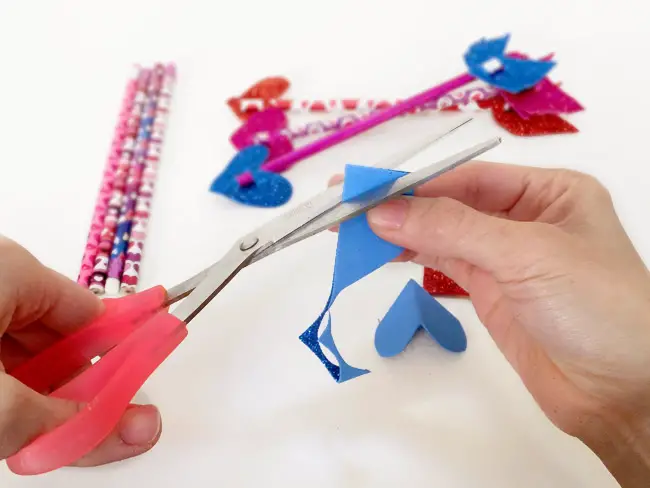
- Snip away! You are cutting a “U” shape for the top of the heart, plus a forward slash for the bottom tip. The longer your ‘slash’ the pointier your arrow. Make your heart take up at least half the space on the paper.
Cupids Arrows Pencil Toppers Tutorial 03

Cupids Arrows Pencil Toppers Tutorial 04
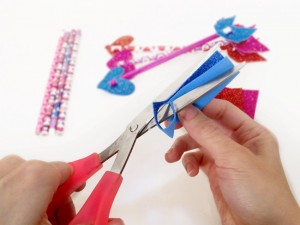
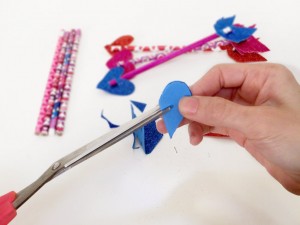
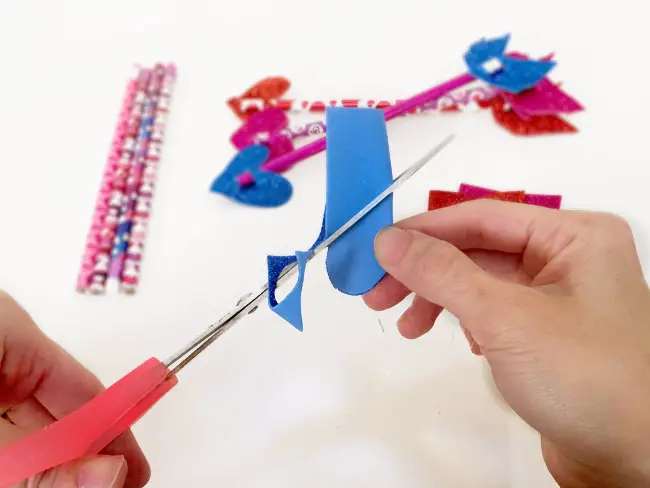
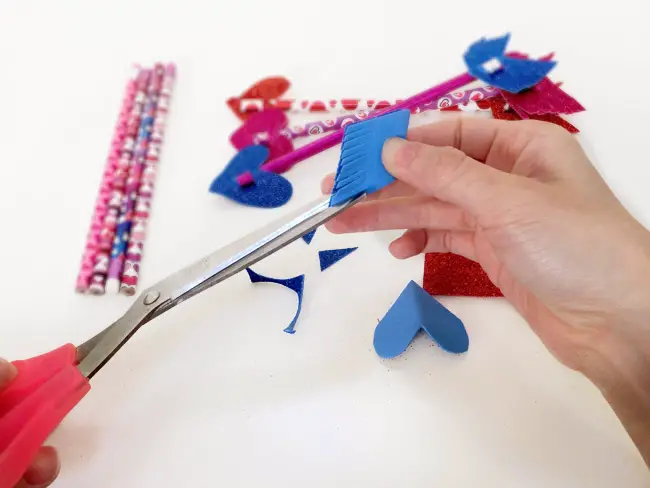
- Next part, cutting out the arrow. Simply snip a slash parallel to your slash from the heart tip and trim away the excess as pictured. Easy peasy, and very little waste.

Cupids Arrows Pencil Toppers Tutorial 05
Cupids Arrows Pencil Toppers Tutorial 06
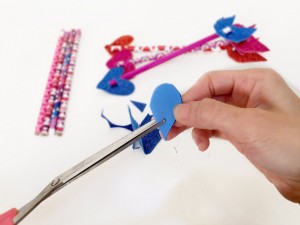
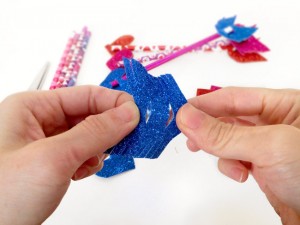
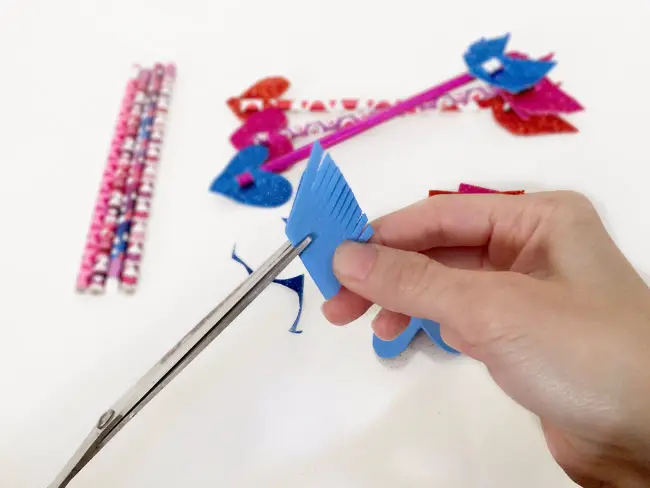
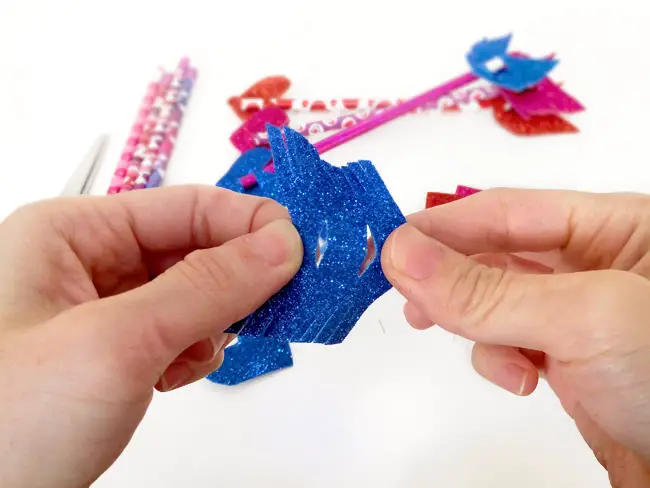
- Trim tiny little fringes about 1/8″ wide and halfway into your new arrow piece. make sure the fringes are on the outer edge, not the folded edge.

Cupids Arrows Pencil Toppers Tutorial 07

Cupids Arrows Pencil Toppers Tutorial 08
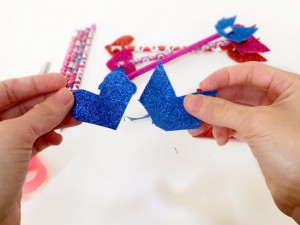
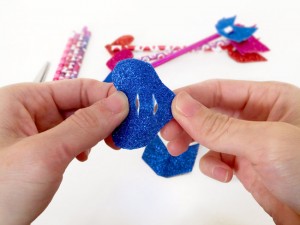
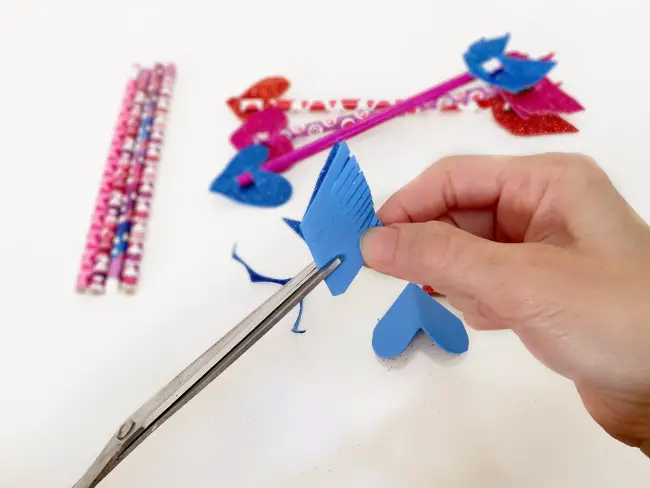
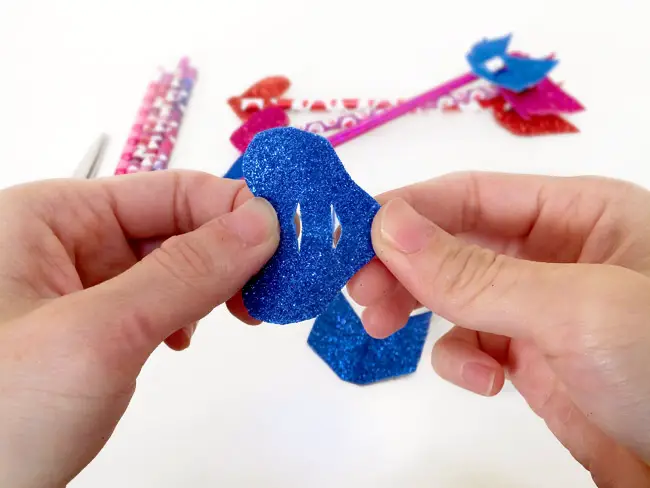
- Cut slits in your heart and arrow approximately 1/4″ wide and 1/2″ apart. Eyeball it. This will be your slits to slide your pencils into. Do a test run with a pencil to make sure it fits and adjust your snips as needed.

Cupids Arrows Pencil Toppers Tutorial 09

Cupids Arrows Pencil Toppers Tutorial 10
Cupids Arrows Pencil Toppers Tutorial 11
Cupids Arrows Pencil Toppers Tutorial 12
Cupids Arrows Pencil Toppers Tutorial 13
Cupids Arrows Pencil Toppers Tutorial 14
Cupids Arrows Pencil Toppers Tutorial 15
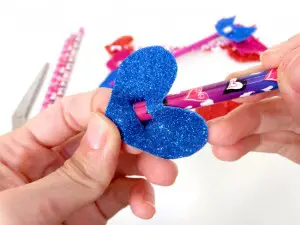
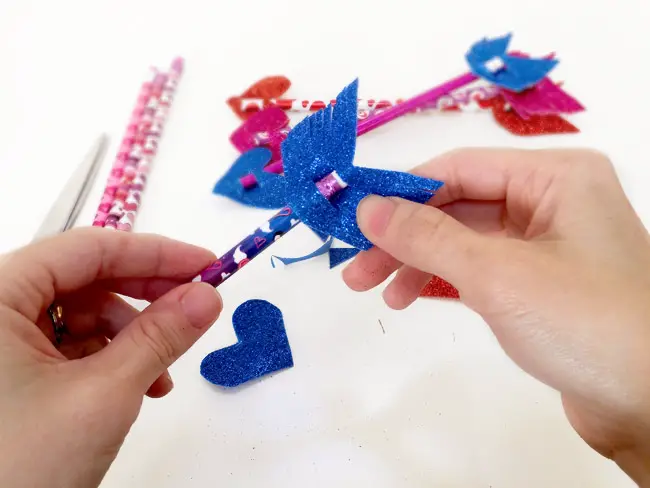
- Slide in your pencils! We did ours under-over-under to hide the top edge and eraser edges.
Cupids Arrows Pencil Toppers Tutorial 16

Cupids Arrows Pencil Toppers Tutorial 17
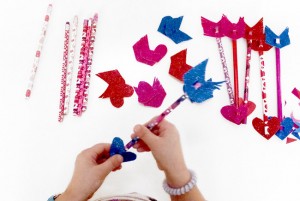
- While Mikah napped I cut out a bunch for him. He was thrilled to find this when he woke up and spent a good 15 minutes weaving the pencils in and coordinating which would be for who.
Cupids Arrows Pencil Toppers Tutorial 18


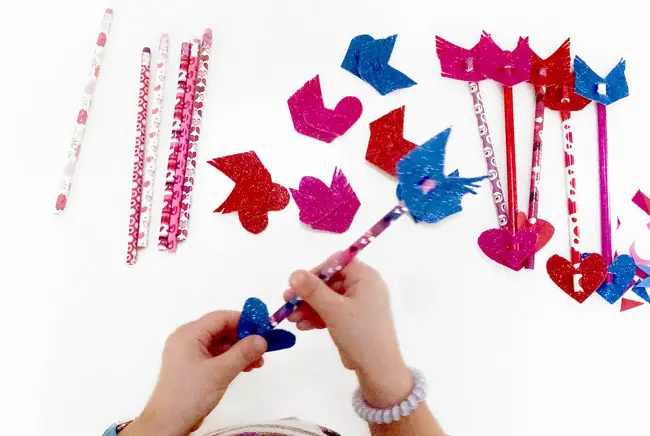
Done! I got Mikah some trinkets to include with his goody bag- he loves people and giving things so this was a perfect activity for him.
Last, please share the tutorial and have fun with it!