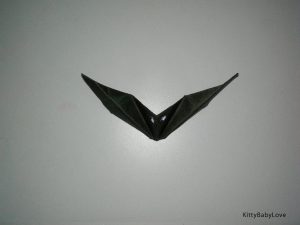
Halloween is here and we all need that paper bat to decorate the house, don’t we! Here is an easy origami item that is simple to make and make for nice household decorations, during Halloween or otherwise:
Easy step-by-step folding instructions (with pictures) to make a paper bat
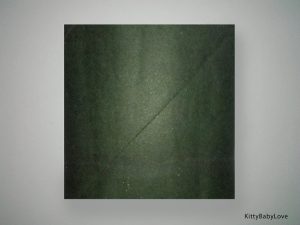
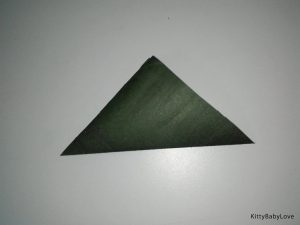
1. Take a square piece of paper and make a single diagonal fold so that the square shape is now replaced by a triangle.
Origami Bat Picture 1
Origami Bat Picture 2
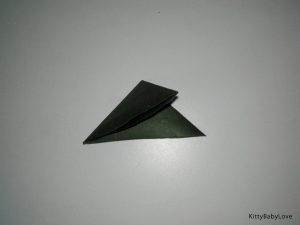
2. Make another fold on top of the previous fold such that we now have a smaller triangle shape in front of us.
Origami Bat Picture 3
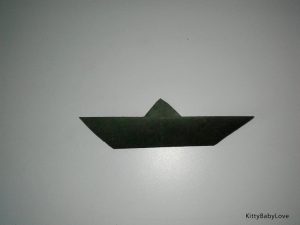
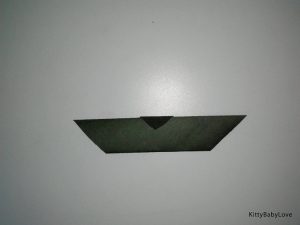
3. Now we will unfold the last fold and take the bottom of the paper upwards so that a small portion of the top corner is left visible. We now have a something that loosely resembles the silhouette of a boat seen side-on.
Origami Bat Picture 4
4. This step will require us to fold the remainder of the top corner downwards over the previous fold. See the picture and fold accordingly.
Origami Bat Picture 5
5. Here we are going to fold the structure right down the middle and make good creases while we are at it. This fold will become the spine of the bat, if you will.
Origami Bat Picture 6
6. Now that the bat is starting to take shape somewhat, we are going to take the ends of both the ‘wings’ and fold it right up along either ‘ear’ of the bat.
Origami Bat Picture 7
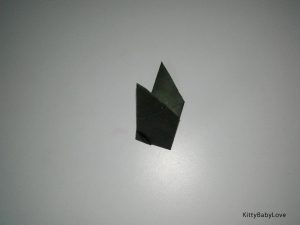
7. This step involves opening the structure up and make smaller folds on the other side of the wings, meaning that these folds will go towards the back of the bat. Refer to ‘Picture 8’ to get an idea of what we need to do in this step.
Origami Bat Picture 8
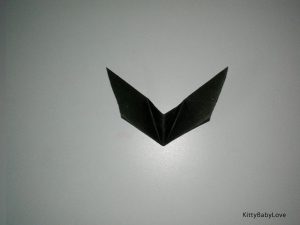
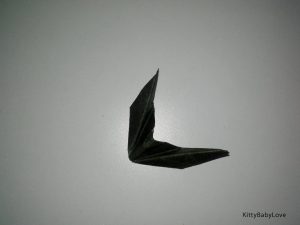
8. Open the contraption up along the spine and voila, we have our bat made completely out of paper.
Origami Bat Picture 9
Here we are, we have got ourself our very own and self-made origami bat. Have you made one yourself? Do take photos of your finished bat and share with us in the comments section below.

