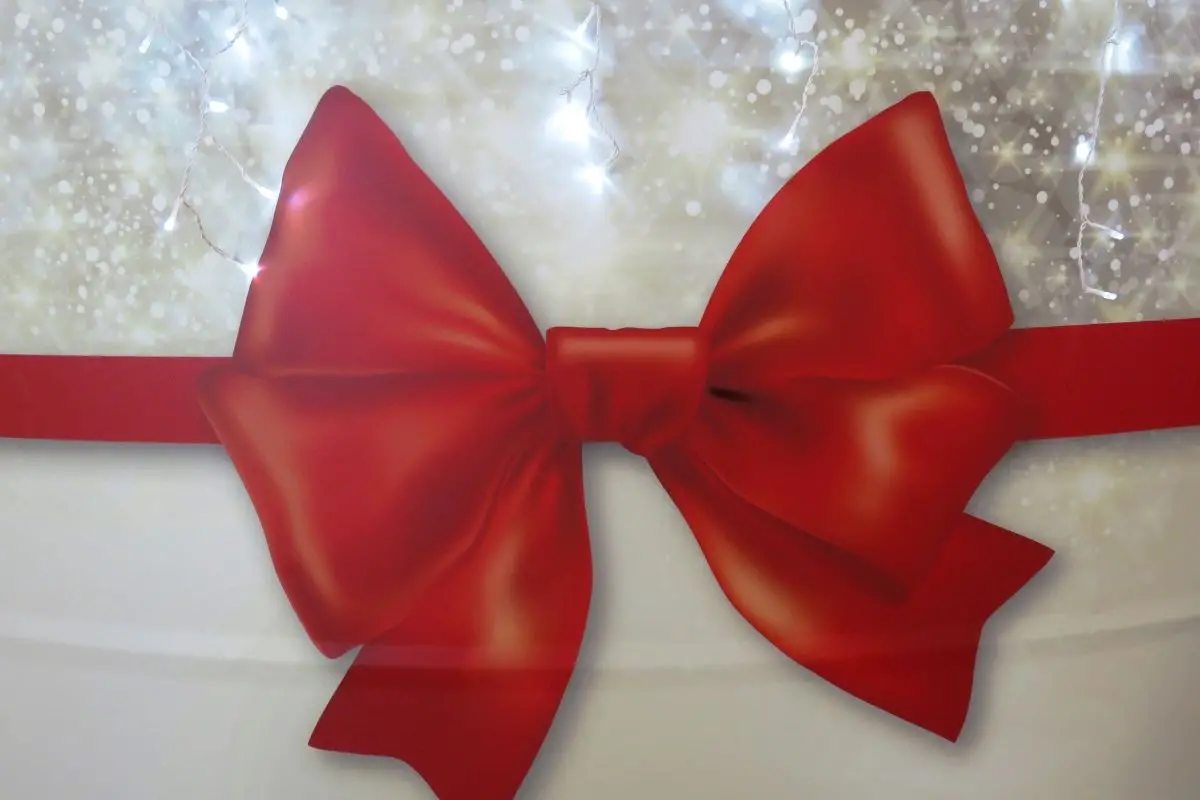
Is there a decoration that is as satisfying to look at as a well-made, simple bow? Extravagance in your decorations is all well and good, but it can get to be a little much sometimes.
A good bow is both elegant, and still a beautiful flourish to anything you want to decorate, whether that is a floral arrangement, a present, or anything else you want to add decoration to.
It is a shame that so many people seem to not know how to make this simple visual delight. And that’s a shame! A bow is a perfect thing to add to a gift to give it that personalized touch.
It’s a great little final flourish to a bouquet that you want to give that special someone too.
And the best part about bows is that they’re super easy to make as well. All it takes is a pair of scissors, some fabric, a little practice, and patience, and you’ll be making ribbons in no time!
That’s what this little guide is for. We’re going to show you how to make a ribbon for yourself, as well as give you a quick explanation as to the different kinds of bows that you can find out there.
Different Types of Bow
Before we get into the tutorials, it’s worth giving a brief mention of the different kinds of bows that you can make. Many people aren’t widely aware that there is more than one type out there, often labeling very different designs with the same umbrella term.
This is fine in normal conversation, but it can be a nightmare if you’re trying to figure out how to get the exact look you are going for with your bow.
We’ll be covering three main styles that you’ll be able to add to your crafting toolkit: The simple twist bow, the double looped bow, and the bouquet bow. These styles will cover most of the ones you may come across in your day-to-day life.
The Simple Twist Bow
This is by far the simplest design out there, and the easiest to learn as well. This is your classic bow shape: Two large loops, with the ribbon, ends adding a little flourish.
Just because it is simple, however, doesn’t mean that it’s not stylish enough to add to anything that you’d like. Most often, it is used as an extra flourish to a present you want to spruce up.
The Double Looped Bow
This bow looks very similar to the simple twist bow design. In this case, however, use extra pieces of ribbon or fabric to create an extra pair of loops in your bow, as the name suggests.
Whilst you can use this type of bow for pretty much any extra garnish, it is a bow that is very popular to place as part of a wreath design.
The Bouquet Bow
Of the three we are discussing today, this is the most complicated design, by a pretty wide margin. You’ll be using at least nine pieces of 20-inch fabric, all with different designs and widths, to create a bow design that almost resembles a flower with its loops and ribbon ends.
This little extra effort does mean that it is going to make pretty much anything it is attached to look that much more impressive, both for gifts and flower bouquets!
How to Make a Simple Bow
So, now we’ve outlined what each of these bows is and looks like, it is time to get to the part that you’ve been waiting for: Making the bows!
When it comes to the simple twist bow, you’re going to need a pipe cleaner, a pair of scissors, and a 2.5-inch wide ribbon.
The length of the ribbon doesn’t matter, so feel free to practice with a longer piece if you want to get some practice with a larger bow that is easier to maneuver.
Whilst the ribbon is still rolled up, unroll about 8 inches of that ribbon, then pinch the end to a surface. After that, you can unroll 8 more inches from the ribbon, which you will then pinch in place, then you can fold the ribbon in half.
This will make up your first loop of the bow.
Once you’ve done that, you can unroll another 8 inches of your ribbon, which you will then pinch, and then fold in half so that the new loop is connected with the first.
At this point, you can cut the bow away from the rest of the ribbon roll.
Once that is done, you can wrap the pipe cleaner around the pinched middle section of the bow, to keep the whole thing together. And that’s it!
If you keep these lengths and proportions in mind, you can make a bow of any size that you want. Just make sure that you have enough ribbon to make it with!
How To Make A Double Bow
Things are going to get a little more complicated with the double loop bow. But with a little patience, and the experience you have with making the simple bow, it shouldn’t be too much of a step-up when it comes to your current skill level.
You’ll need two 14-inch pieces of ribbon that are 2.5 inches wide, one piece of 12-inch ribbon that is the same width, and a piece of ribbon that is also 2.5 inches wide, and 6 inches long.
You’ll also need a pair of scissors and a pipe cleaner again, as well as a hot glue gun.
To start, glue the edges of your 12 and 14-inch ribbons together so that you can make two loops from them.
In the middle of your larger loop and another drop of hot glue from your glue gun, and then place your smaller loop on the top of it.
Underneath the places where you have glued the loops, place your other 14-inch ribbon piece, and pinch that spot, so that the loops are pressed together in the middle.
Once this is done, you can wrap your pipe cleaner around them to secure them again.
How To Make A Bouquet Bow
This is going to get a little complicated with this bouquet bow. But it will be the ultimate crafting reward once you successfully pull it off!
For this one, you’ll need 6 20-inch pieces of ribbon that are 2.5 inches wide, with half of them being a different pattern from the other half and another 3 pieces of 20-inch ribbon that are 15-inches wide.
You’ll need scissors to cut them, obviously, as well as a zip tie.
Take one of your 20-inch ribbons and measure out 12 inches. Hold that 12-inch spot in place as you fold your ribbon in half, creating your first loop.
Repeat this for your other ribbons, then accordion fold them together, then keep your thumb in the center to hold all the different pieces together. At this point, you can adjust the ribbons to your liking, either by moving them a little or fluffing them up.
Use the zip tie to keep the ribbons together by tying them to the middle pieces, then remove any excess part of the zip tie that is left over. And there you have it! The most complicated of our bows are now under your belt!
Conclusion
As you can see, some types of bows can get a little complicated to make, especially if you don’t know what you’re doing. But they’re not impossible, and I’m confident that you will master them soon enough. The best way to learn something is to practice, and that’s exactly what we did here today.
We started with the simpler bow and worked our way up until we had the most complex one. If you do this, you’ll find yourself having fun while learning new skills, and having a great time while doing it. So go ahead and try it out!