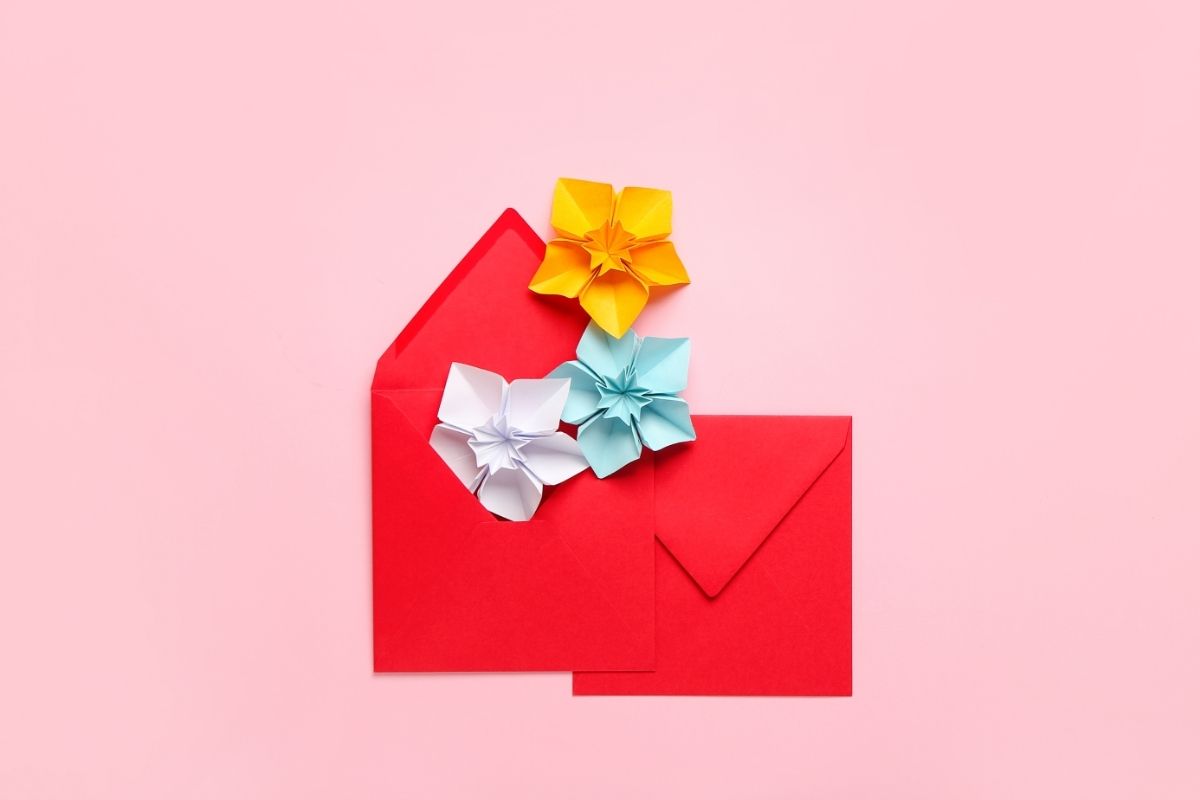
How would you like to create something out of nothing? Well, now you can, thanks to the amazing paper envelope ideas out there. They come in various shapes and sizes and are perfect for gift wrapping, mailing, or even storing documents.
These paper envelopes are great because you can make them at home with some materials you probably have lying around in your craft cupboards, and the result is still a strong envelope that won’t tear easily.
Paper envelopes are simple to make at home. All you need is some paper, scissors, and a hot glue gun. We provide step-by-step instructions in this article to make your very own paper envelope. Let’s jump in.
Why Make Envelopes At Home?
Envelopes are essential for sending letters and packages. It’s so important to keep a supply of envelopes handy. It doesn’t matter whether you want to send postcards, birthday cards, invitations, or anything else, you’ll always have plenty of envelopes at home.
However, if you ever forget to stock up on envelopes, you might be wondering how you make your own at home! Making your envelopes is easy and inexpensive. Plus, you get to choose what kind of envelope you want to create.
There are many different types of envelopes you can create, including standard white envelopes, personalized envelopes, holiday-themed envelopes, and more. You can even make custom envelopes that feature your logo or special message.
How To Make An Envelope Out of Paper
Step 1: Arrange One Piece Of Paper
Take the piece of paper you want to act as the outside of the envelope, place it with the decorative side down, and turn it so that it resembles a diamond.
Step 2: Fold In Three Corners
Fold three corners into the middle of the paper, making sure to fold the corners inwards towards the center. This will help keep everything inside secure.
They should slightly overlap and you need to be folding in the left, right, and bottom corners of the diamond.
Before you fold into a hard crease, bend the paper slightly to see where the points will end up meeting. When you like how it looks, make a sharper crease to form the edges of your envelope.
Step 3: Glue The Seams
You can use traditional craft glue or a simple glue stick for this but hot glue might be better. Hot glue is much stronger than regular glue and will hold the seams together well. Hot glue also allows you to adjust the size of the envelope after it has been made.
You can either cut off the excess once it cools down or just leave it as is. Hot glue also dries clear and if you use craft glue, you might find the seams will pop away whilst drying.
If you find a hot glue gun, run a line of glue along the edges and the insides of each corner before pressing to close. Use a lower setting on your gun as higher settings can cause the paper to discolor and you might run the risk of burning your fingers.
Step 4: Add The Insert
When the envelope is made, you need to use the coordinating piece of decorative paper to add a liner.
Trace the outside of your envelope onto a piece of scrapbook paper and cut using scissors. The piece should fit inside your envelope snugly. If it is a little tight, cut off the excess paper at the end of the insert.
Once it fits and you’re happy, take away the insert and glue the back. This will secure it to the envelope inside.
Step 5: Fill Up Your Envelope
Once the glue has dried, fill up your envelope with whatever you would normally put in an envelope.
It’s common to put cards in your envelopes, but don’t be afraid to get creative and maybe pop some jewelry in it or a fun friend for a gift. We promise they’ll love receiving it in the post!
How To Make An Origami Envelope
Origami envelopes are a fun way to give gifts. They look beautiful when they arrive, and they don’t require any fancy equipment or skills.
All you need is a square sheet of paper, a pair of scissors, and a few basic origami techniques.

Start by cutting out two squares from the same patterned paper. Cut one square to be the front of the envelope and the other to be the back.
Next, fold the top edge of the front square over twice, creating a triangle shape. Then fold the bottom edge over once.
The folded sides should meet at the center point of the triangle.
Once the sides have been folded, unfold them and press firmly.
Now you can start adding details such as writing, stamps, or stickers.
To finish, fold the flap down and seal it closed.
How To Make A Card Out Of Paper
Making a card out of paper can be a great way to send a greeting card if you can’t get to the shop on time, or you want to create something slightly more personal. It’s easy to create a card that’s unique and personal. All you need are a few supplies and a bit of creativity.
Step 1: Find Inspiration
Take inspiration from nature, art, music, fashion, or anything else that inspires you.
Step 2: Create A Sketch
Sketch what you want your card to look like. Include all the elements that you want to include on the card.
Step 3: Print Your Design
Next, you need to print your design. You can print directly on the card or print on a separate piece of paper and then attach it to the card.
Step 4: Fold & Stamp
Fold the printed side of the card so that it lies flat against the rest of the card.
Stamp the back of the card with ink. You can make a custom stamp for the back of the card if you want.
Step 5: Attach Stickers
Attach stickers to the front of the card. Try different designs and colors, depending on who you are sending the card to.
Step 6: Seal the Backside
Seal the back of the card.
Step 7: Send
Now it’s time to pop it in that homemade envelope and get it sent to a friend!
Final Thoughts
We hope after reading this article you have learned a little more about the ways you can create an envelope out of paper if your envelope stockpile ever runs low, as well as taken note of how to make your own greeting card!
Not only is creating your card and envelope great if you can’t get to the shop in time, but it’s also a slightly more personal way of sending mail and the receiver might appreciate that more than a store-bought standard envelope or card.
So don’t be afraid to get creative next time it’s your besties’ birthday!


