It’s easy to make a bunch of bracelets, and it’s stylish to wear a bunch of them together. Making bracelets is a fun, straightforward project, and it’s easy to make a bunch of them.
Plus, when you’re at the store there are so many pretty colors to choose from, it’s hard not to want to buy dozens of beads.
Creating friendship bracelets is that classic craft that everyone loves to do. They’re easy to make, easy to take along wherever you go, and easy to give away as gifts. You can also easily customize them by adding different colors or patterns.
This tutorial teaches you how to make friendship bracelets using yarn, beads, buttons, and more.
Friendship bracelets are very popular because people love wearing them. You can make many types of friendship bracelets such as simple braided ones, or more complicated diamond-patterned ones. There are no limits to what you can do!
Gather Your Supplies
You don’t need a lot of materials to make fun friendship bracelets. Embroidery floss, clipboards, pins, and masking tapes are needed to make these cute bracelets.
Bracelets String
Friendship bracelets made of embroidery flax are very popular because they’re easy to make. They come in many colors and designs and are usually sold in packs of 20 or more.
Start With 4 Basic Knots
Friendship bracelets are made using four basic friendship bracelet knots. These are shown by stacking two half-hitches together. The forward knot uses two half-hitches and the backward knot uses three half-hitches.
A forward-backward knot is a type of tie used to hold a necktie or scarf in place. A backward-forward knot is a type of bow tie.
Learn To Read Friendship Bracelet Patterns
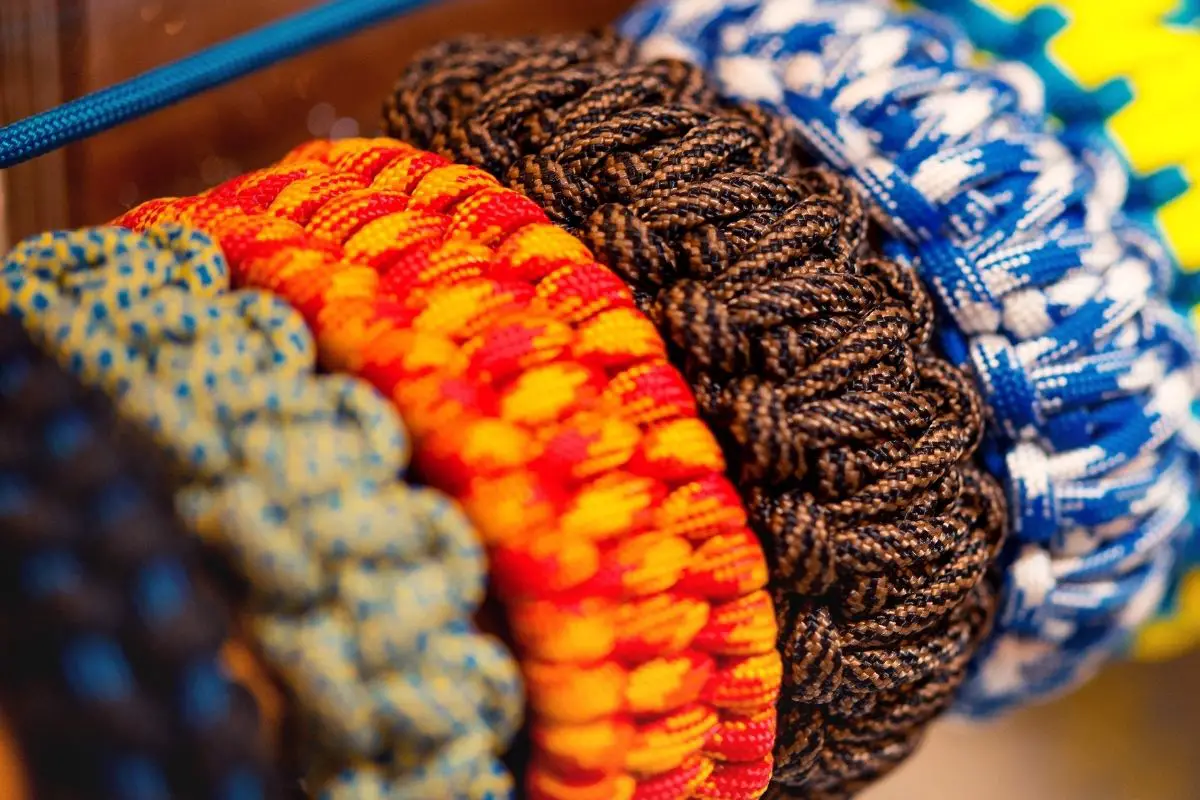
Friendship bracelets are made using a variety of materials including leather, plastic, metal, or wood. Patterns include stripes, chevrons, circles, squares, triangles, etc. You can make your own friendship bracelets by following the patterns.
How To Make Candy Stripe Friendship Bracelets
Cut the floss into three equal parts. Wrap each part around your wrist once. Stretch the floss across your wrist. Fold the three strands of floss into a loop and tape it down to the table.
Put the six strands of floss in order, starting with the strand on the left. Tie the first strand around the others using the overhand knot. The forward knot is used here to make a wide band of the color.
You should be aware of the directionality of the knotting too. It is made left to right, just like how we read.
Start by taking the first strand on the LHS, shape it into a “number 4” with the 2nd strand placed next to it. Make sure the first string goes OVER the second string, and then behind as seen in the image above.
It is important the FIRST STRING ALWAYS GOES OVER THE SECOND STRING as it’ll give it a nice look. This will create a simple pattern that creates a pleasant looped style bracelet.
Slide 3 strands of floss through each hole. Knot the 2 strand sections together. Cut off loose floss.
How To Make A Bracelet Out Of Shoe Laces
Shoelace crafts are fun, but they’re also useful. You can use them to create bracelets, necklaces, or anklets. You can do it yourself, or you can ask someone else to help you.
This DIY project takes shoelaces and makes them into a bracelet. It’s easy to do, and you’ll be surprised how much you enjoy making something useful out of something that was once useless.
Supplies You Will Need
Shoelaces are used to make the most amazing bracelets! You’ll be amazed by how easy it is to make your own shoelace bracelet! This video shows you step-by-step how to make them.
Step 1
Yes! A shoelace can be made into a bracelet. To make a bracelet, you need to turn the ends of the lace to form a circle. Then, you wrap both tails around each other until you reach the center. At this point, you should tie them together.
Step 2
Pull the right tail over and then behind it. Don’t you think it looks a little like a Celtic knot pattern? Stylish!
Step 3
A long piece of string is attached to a loop in the center of your wrist. You pull the ends of the string through the loop until the loop is tight around the string. Then you tie off the loose ends of the string to make a secure knot.
Step 4
Next, start by making a loop, then you grab the end of the rope and pull it into the middle of the loop. Then you tug the end of the rope towards the middle of the loop until you make a knot.
Step 5
Keeping the right tail in place as you work around the bracelet, pull it through the loop and pull it in place. The process can be repeated until the shoelace reaches its end, or you reach the desired length.
Step 6
Don’t forget to leave a few inches of shoelace behind! You’ll need to be able to tie knots later.
And, it’s as simple as that! You can do this activity by yourself or with friends and family. It’s great fun and a superb way to bond with loved ones whilst doing something enjoyable. Best of all, you will end up with beautiful bracelets to wear and hand out as presents.
Final Thoughts
After reading this article you should now have a good idea on how to create your own bracelet. Whether you use floss or some old shoe laces, you can go wild and make bracelets for all of your friends and family.
Experiment with designs and colors to produce a bracelet that is suited to you! Most importantly, have lots of fun!