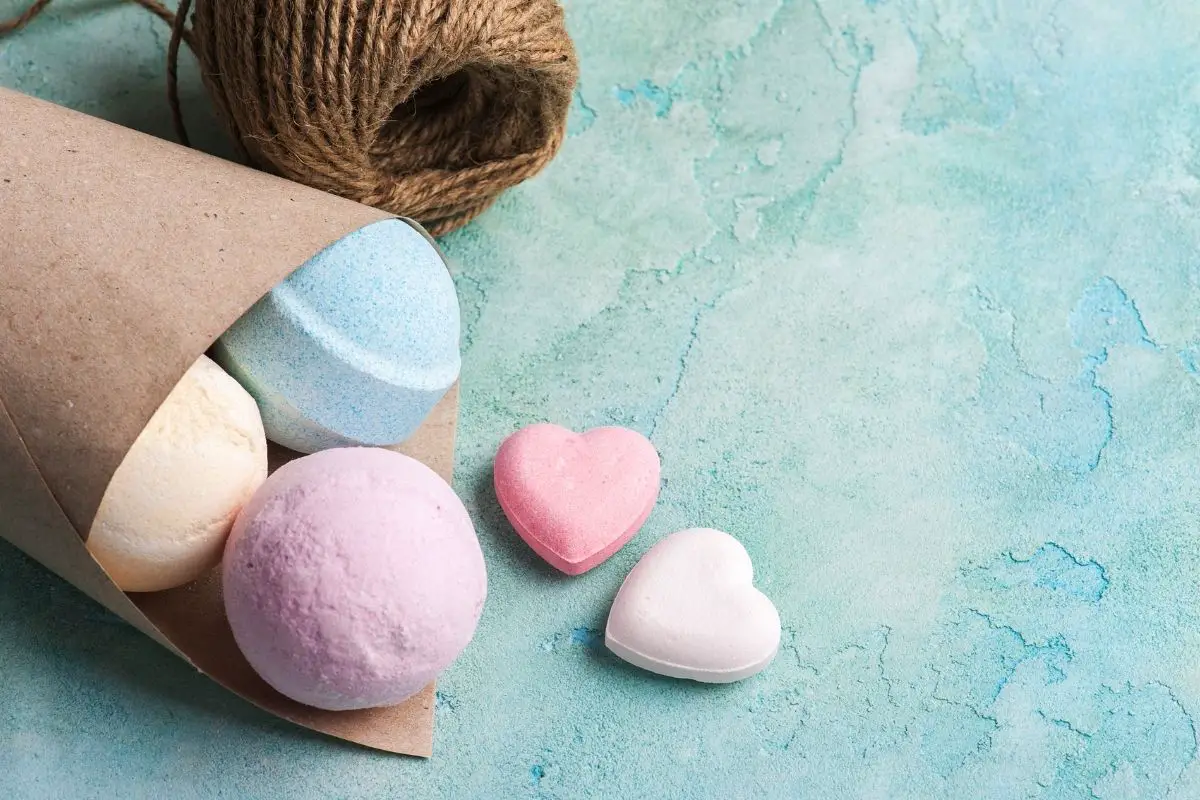
Do your children love bath time? If so, then you should make your own homemade bath bombs…
While there is nothing wrong with store-bought bath bombs, they can be expensive in large numbers, which is another reason why you should consider making your own.
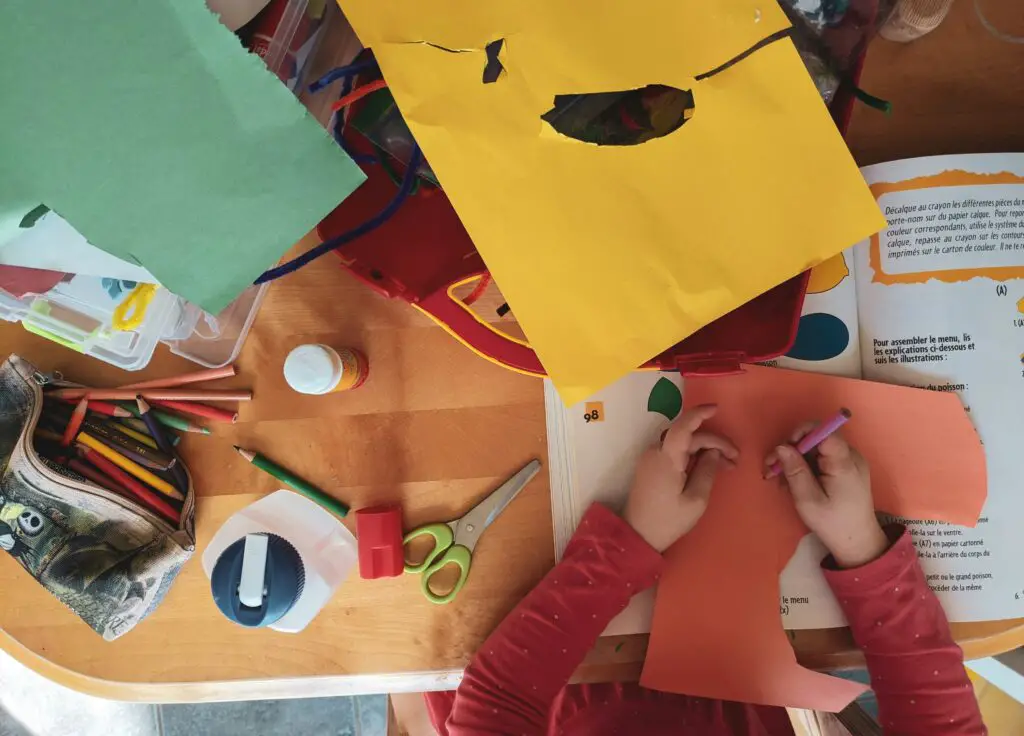
Not only are homemade bath bombs cheap and creative, but they can also be made with your children for a fun afternoon exercise.
So if you want to teach your children how to make their own bath products, you have come to the right place.
In the following article, we will teach you how to make bath bombs for your kids, using simple ingredients found in your home.
This recipe is a lot of fun to make and can produce amazing bath bombs in less than a few hours.
Are Homemade Bath Bombs Safe?
While making bath bombs can be a fun activity, it does come with its obstacles, as you have to be careful of your children’s safety.
This is because the ingredients in bath bombs can irritate the skin, especially when used in large quantities.
For this reason, we do not recommend using a bath bomb more than once a week, as this could damage your children’s skin and lead to other problems.
It is also important to note, that bath bombs contain bicarbonate of soda and citric acid, which means there are certain precautions that need to be implemented when making them from scratch.
For Example
- Children should not be allowed to make the actual bath bombs. Instead, they can assist in the measuring and stirring.
- All substances should be kept away from the eyes and mouth. You will also need to wash your hands.
- This activity is only suitable for ages 6+, which means it should be avoided with small children.
- Children should not be allowed to put their heads beneath the water once the bath bomb has been placed in the bath.
- Bath bombs should be avoided if your children suffer from conditions such as eczema and broken skin.
- If the product comes into contact with your children’s eyes, they will need to be rinsed with clean water for several minutes.
- In the case of allergic reactions, you will need to stop using the product and contact a medical professional.
How To Make Bath Bombs For Kids
Now that you understand these precautions, it’s time to start making your own homemade bath bombs…
What You Will Need
Equipment
- Bath bomb molds
Ingredients
- Baking soda (1 cup)
- Corn starch or cornflour (½ cup)
- Citric acid (½ cup)
- Fine sea salt (½ cup)
- Coconut oil melted (2 ½ tablespoons)
- Water (2 tablespoons)
- Food coloring
- Toys (optional)
Note: If you do not have any fine sea salt, you will need to omit it from the recipe. You should not substitute it with other salt products.
Instructions
- Transfer the baking soda, citric acid, corn starch, and salt to a medium bowl and mix until combined.
- During this process, you will need to use a spoon or pestle to break up any lumps before whisking them together.
- In a separate bowl, combine the oil and water before adding the solution to the other mixture. You will need to add the solution slowly, otherwise, it will react with the flour and start to foam.
- Once the ingredients are combined, the mixture should have a similar consistency to wet sand. If the mixture seems too dry, you can add some water to help moisten the substance.
- If you want to make the mixture more colorful, you will need to divide it into separate bowls and add some food coloring. For the best results, we advise using only a small amount of the coloring to avoid staining.
- Take one side of the bath bomb mold and fill it to the brim with the mixture. Do the same with the other side and then press a small toy into the middle.
- Once you have done this, you can press the two sides together and secure the mold in place.
- The bath bomb mold will need to rest for a few minutes before you can extract the finished product. This can be accomplished by tapping the mold with a spoon and opening it up to reveal the bath bomb inside. If the bomb breaks during this process, you can close the mold and try again.
- Once the mold has been opened, you will need to leave the bath bomb to dry for 12 – 24 hours.
- When the bath bomb is dried, you can add it to the bath. Just drop it into the warm water and allow it to fizz until the toy is revealed. It is important to remove the toy from the water before draining the bath.
Can Homemade Bath Bombs Leave Stains?
When making your homemade bath bombs, it’s important that you only use a small amount of food coloring, as too much could leave stains in the tub.
This is because the coloring becomes diluted in the water, which can stain certain materials and bathtubs.
To avoid this problem, we recommend adding a small amount of food coloring to your next bath, as this will determine how much it will stain.
If the coloring remains after the bath has been drained, you will need to wipe it away with water or a paper towel. It’s also important to only use one bath bomb per session.
How To Store Homemade Bath Bombs?
To store the bath bombs, you will need to transfer them to a sealed plastic bag and store them in a cool place.
If the bath bombs are exposed to moisture or air, they will begin to foam, which could result in staining and other problems.
You should also refrain from touching the bath bombs with wet hands, as this can also lead to premature fizz and reactions.
Final Thoughts
Making bath bombs for kids is a great way to spend time with your children, while also teaching them an important life skill.
Just remember to be mindful of the precautions above when making your homemade bath bombs.