Whether it’s the holidays or summer vacation, entertaining your children can sometimes be a difficult task.
Especially when they’d rather be playing video games or their electronic devices. However, as all parents understand, too much screen time is bad for your children.
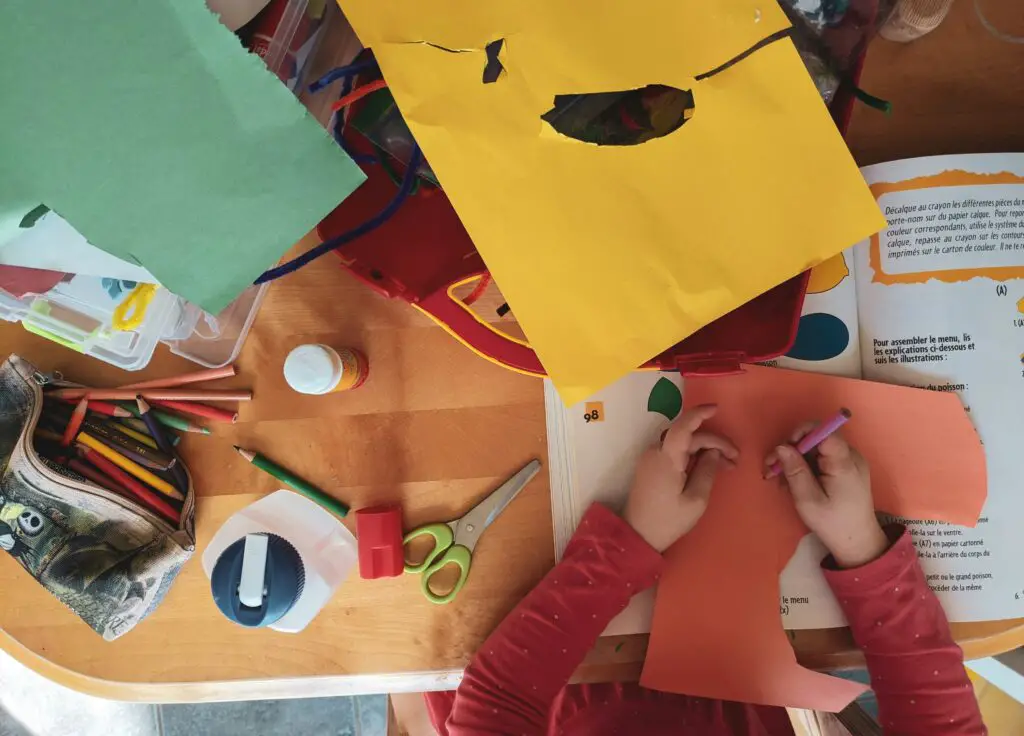
Taking some time for them to be creative and stimulate their brain is great for your children’s development.
Therefore, to help you choose some activities, we have created a complete step-by-step guide on how to make things with paper for kids.
Not only is this a great activity for children, but it is also generally mess-free, easy-to-make, and provides hours of fun to keep them fully entertained. There’s sure to be something every kid will enjoy!
1. Fish Papercraft
What You’ll Need
- Construction paper (whatever color you like)
- Stapler
- Scissors
- Glue or glue dots
- Single hole punch
- String
- Googly eyes
Directions
- To make the body of your fish, you’ll need two pieces of construction paper.
- Next, fold each paper in an accordion fold.
- Line both papers on a worktop, one above the other (not overlapping).
- Press both pieces of paper together (so it’s squished), then stable in the middle.
- Pull out each side of the individual paper so it resembles a fan, then glue the sides together where they meet in the middle. (You may need to paperclip the sides together while the glue dries; however, if using glue dots you don’t have to wait.)
- Repeat step 5 on the other side.
- Now you should have what resembles a circle, however, there are still two spaces on either side that need to be glued together to complete the circle. Glue the sides.
- Using the same construction paper, cut out a triangle and glue it on the circle as a tail for your fish. Add googly eyes to each side of the circle.
- Finish off by punching a hole at the top of your fish, attach some string and hand your fish anywhere you want!
2. Cardboard Tube Minions
What’s great about this papercraft is most of the materials can already be found in your home, so there’s no need to buy anything!
What You’ll Need
- 3 cardboard tubes (you can also use toilet paper tubes)
- Scissors
- Glue stick
- Yellow, black, and gray markers
- Construction paper (yellow, blue, black, and white)
Directions
- Grab some yellow construction paper and cut it in half lengthwise. (Two minions will fit both halves). Spread glue all around the paper and wrap it around the tube. Cut off excess (this should be about half the sheet), and repeat for the next minions.
- Grab some blue construction paper and cut it in half lengthwise. Using one of the halved papers, cut it in half again but in the opposite direction. Then, using one of those halves, cut it, once again, in half but lengthwise. This should measure 2” x 6”.
- Fold the half again but don’t cut it. Open it out and you should see a crease in the middle of two sides. On both of these sides, cut out a square (making sure to leave space between the edges and 2-inches in the middle). These will make the overalls.
- Take the overalls and glue them to the yellow tube, lining it up with the bottom of the tube.
- Here, you can use the markers to add any small details such as the overall buttons and the front pocket with the letter ‘G’. Smaller children can skip this part.
- Cut a thin strip of black paper for the goggles, about ¼” wide. Glue this around the top of the tube, leaving about ¾ inches from the top.
- Cut the circular goggle details with white and black paper.
- Then, glue the white circle to the black goggles. Using a brown pen, draw in an eye. Adding a dot of black for the pupil. Glue this onto the google of the minion, overlapping the strap.
- With a black or brown marker, draw in the mouths.
- For hair, cut out black pieces of paper and glue from the inside of the tube.
- Add any finishing touches you like!
3. Paper Chain Caterpillar
What You’ll Need
- Construction paper (2 or 3 different colors)
- Scotch tape or glue
- Scissors
- Black marker
- Googly eyes (optional)
Directions
- Using your construction paper, cut approximately 15 strips about 1 inch wide, lengthwise.
- Decide on what pattern you’ll make. For example, sequenced colors.
- With 1 strip of construction paper, make a ring and tape or glue it together.
- Take another piece of paper and slide it through the ring, create another ring with the same paper, and tape or glue it together.
- Repeat this process until you have used up all your strips.
- Cut out one last strip of construction paper roughly 2 inches wide (this is the head). Attach it to the beginning of the chain.
- For the antennas, cut two ¼ inches by 5-inch paper. Tightly wrap these around a pencil to form curls. Then, fold a small tab at the bottom of each antenna. Lastly, glue two tabs onto the head.
- Either draw or glue on googly eyes.
- With a marker, draw the mouth.
Final Thoughts
Whatever the occasion, papercrafts are a fun way to keep your children entertained, allow them to be creative, and are great for their development.
Hopefully, this guide will inform you on how to make things with paper for kids!