Earrings are a great way to express your personality and style, but they can be expensive if you don’t know how to make them yourself. This tutorial will teach you how to make inexpensive earrings that look professional.
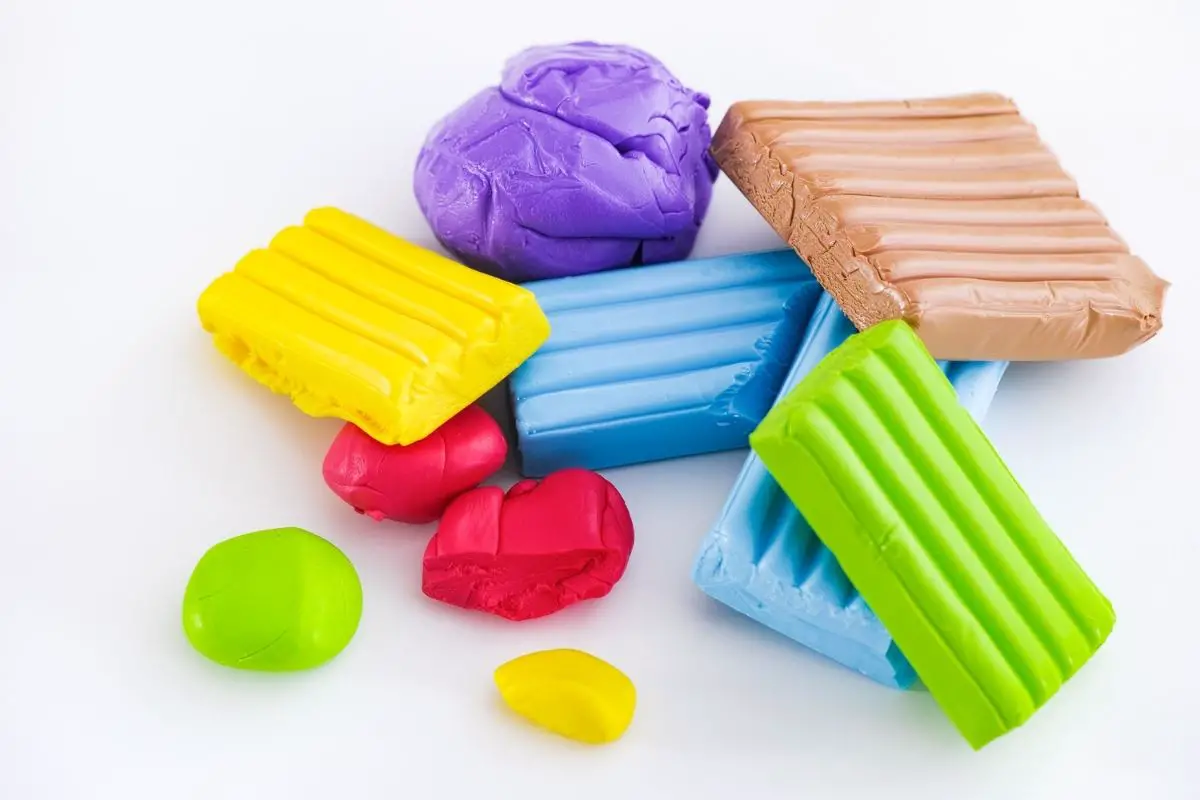
Clay is an easy material to work with. It comes in many colors and textures, so it works well for making jewelry. You can use the same technique to create bracelets, necklaces, rings, or any other type of jewelry.
In this article, we’ll be taking you through everything you need to know about making your own clay earrings, including an extensive step-by-step tutorial, so you can get started.
What Are The Benefits Of Making Your Own Clay Earrings?
There are many benefits that come with making your own clay earrings. Some of these benefits include:
- You save money by not paying someone else to make them for you.
- If you want to customize your earring design, then this is a good option.
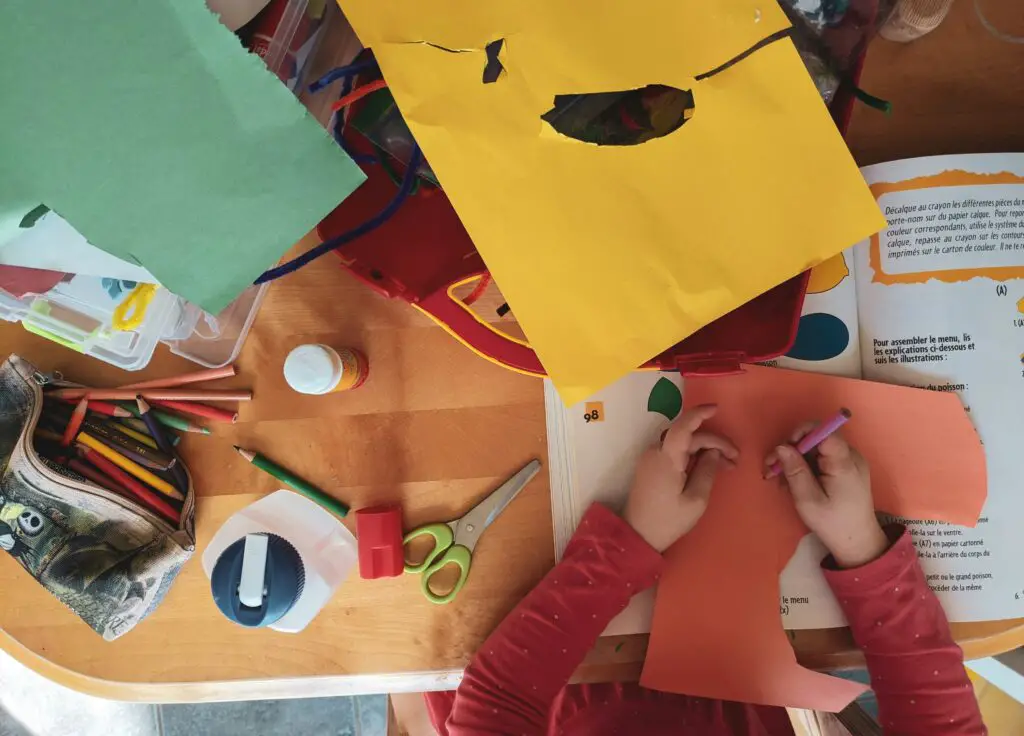
- It allows you to have fun experimenting with new designs.
- There are no limitations when creating your own jewelry.
- This is a great project for beginners because there is very little equipment required.
Is It Easy To Make Your Own Clay Earrings?
Yes! Making clay earrings is easy. The hardest part of this project is waiting until all the pieces dry before attaching them together.
How Toxic Is Polymer Clay?
Polymer clay is safe to use around children and pets. If you accidentally get some on your skin, wash it off immediately.
Where Do I Find Polymer Clay?
The best place to buy polymer clay is at craft stores like Michael’s Arts & Crafts. There are also online retailers that sell polymer clay.
How Much Does It Cost To Make My Own Clay Earrings? How Long Does It Take?
The cost depends on what kind of earrings you’re making. For example, if you decide to make a pair of stud earrings, they would cost about $1 each.
On average, it takes about two hours to make one pair of earrings.
Can I make these earrings without using a mold? Yes! All you need is a piece of paper. Simply draw out the shape of your earring on the paper, cut it out, and follow the instructions below.
How To Make Clay Earrings
Step 1: Get Your Materials Ready
You will need some clay, wire, pliers, and a pair of scissors. Start by getting your supplies ready.
Materials Needed
- Clay – The best brand to use is Play-Doh® clay. If you don’t have this brand, you can use any kind of clay.
- Wire – The size of your choice.
- Pliers – Round nose pliers are good for creating loops on ear wires. Flat nose pliers are good if you want to create shapes like hearts or squares.
- Scissors – For cutting wire and clay.
Step 2: Prepare Your Clay
The first thing you will do is prepare your clay. Take your clay out of its package and remove the plastic wrap. Put the clay into a bowl.
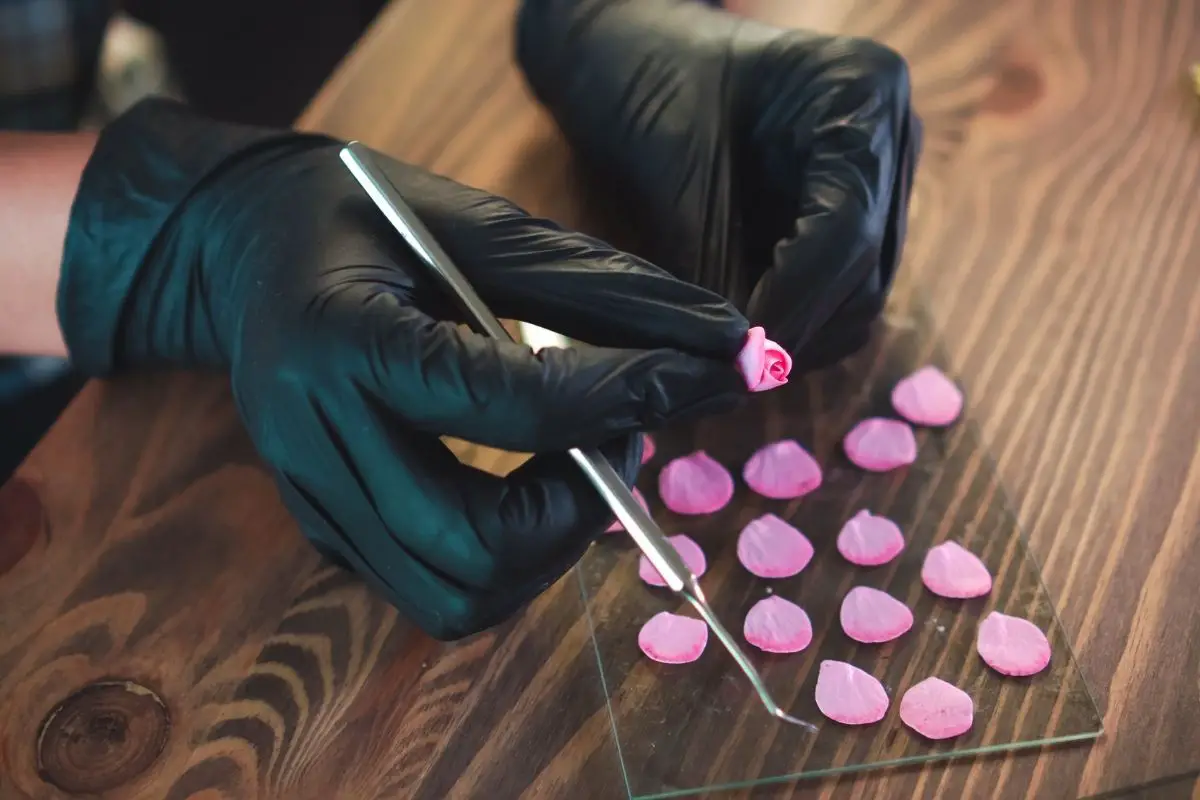
Step 3: Roll Out Your Clay
Now roll out your clay until it forms a ball. Make sure that the ball has a smooth surface. If there are any cracks or rough spots, then knead the clay until those areas are smooth.
Step 4: Cut Wire
Now cut your wire into pieces. To make a loop, start at one end of the piece of wire and fold over about half of the length. Then bend the wire back down towards the center. Repeat this step until you reach the desired length.
Step 5: Create A Loop On One End Of Your Wire
Take your round nose pliers and place the tip inside the loop you just created. Gently pull the wire through the loop while rotating the pliers. Continue pulling the wire through until you get to the end of the piece.
Step 6: Add More Loops
Repeat steps 3 through 5 to add more loops. Use as many or as few as you would like.
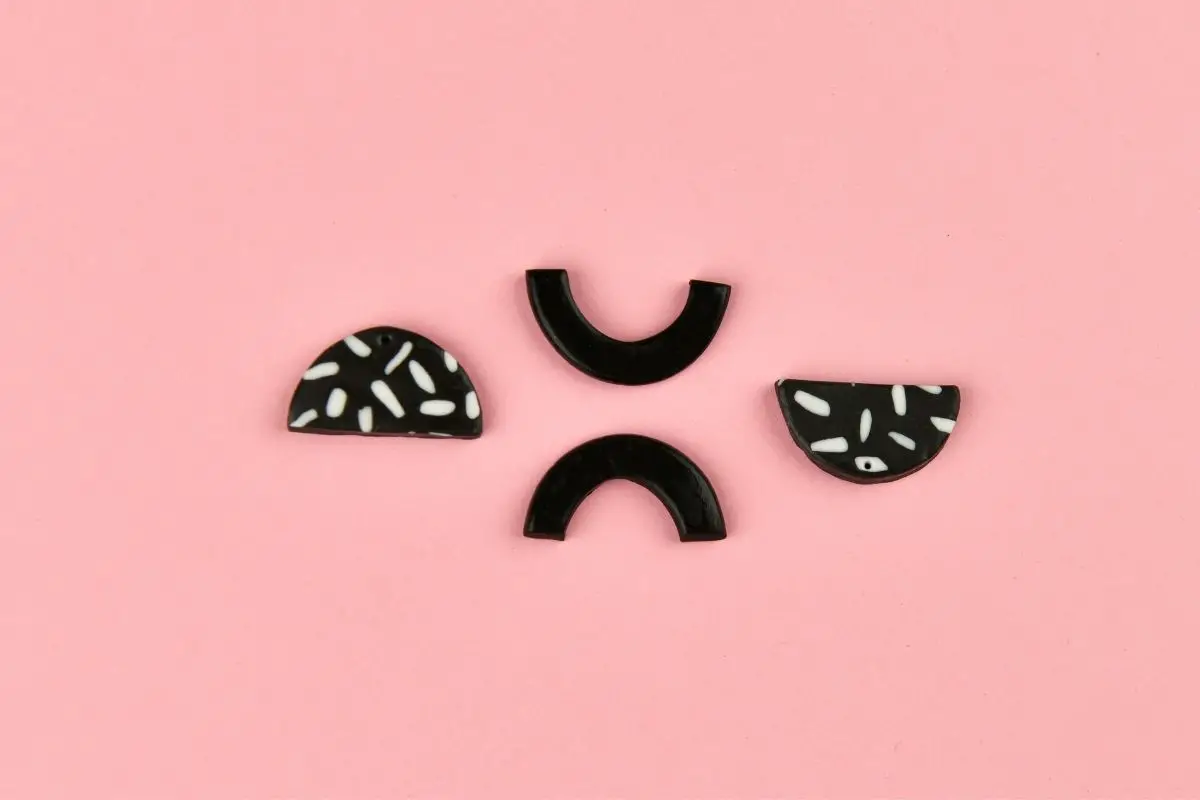
Step 7: Shape Your Clay Into An Oval Or Square
Once you have all your loops done, take your oval or square shape and flatten it against the side of the bowl. Knead the clay again to make sure it sticks to the bowl.
Step 8: Attach The Clips
Once you have flattened the clay, attach the clips to the ends of the wire. Be careful not to twist the wire when attaching the clip.
Step 9: Attach The Other End
Attach the other end of the wire to the opposite end of the clay.
Step 10: Let Dry
Let your earring dry completely before wearing it.
Step 11: Wear Them!
Wear your new earrings whenever you feel like it. They are perfect for casual wear or even dressier occasions.
Can You Use Air-dry Clay For Earrings?
Yes, you can use air-dry clay for making earrings. Follow the same process above but instead of rolling out the clay, simply press it flat with your fingers.
Are Polymer Clay Earrings Heavy?
Polymer clay earrings are very lightweight. You can easily carry them in your pocket or purse.
What Type Of Clay Should I Use For My Earrings?
Any brand of clay will work fine. However, Play-Doh® is the easiest to work with. It doesn’t require much shaping, so it makes it easier to learn how to make earrings.
Conclusion
In conclusion, making clay earrings is an easy and quick process that is a wonderful way to channel your inner creativity, whether you plan on making earrings for yourself or gifting others, or looking for a way to make extra money.
Not only are clay earrings cheap to make, but the possibilities are endless thanks to the wide array of designs and styles that you can apply when designing and making your own.