Making slime can be a fun activity for children, but it gets everywhere, and the clean up process can be incredibly challenging.
If you’re wondering how to make slime less sticky, you’ve come to the right place.
In this article, I will provide you with a few methods on how to make slime less sticky.
Without further ado, let’s get going.
Slime is a wonderful sensory activity for children of all ages, but especially young children.
However, some slime recipes are super sticky, and can be incredibly messy once you’ve made them.
How To Make Slime Less Sticky
Shaving Cream & Contact Solution
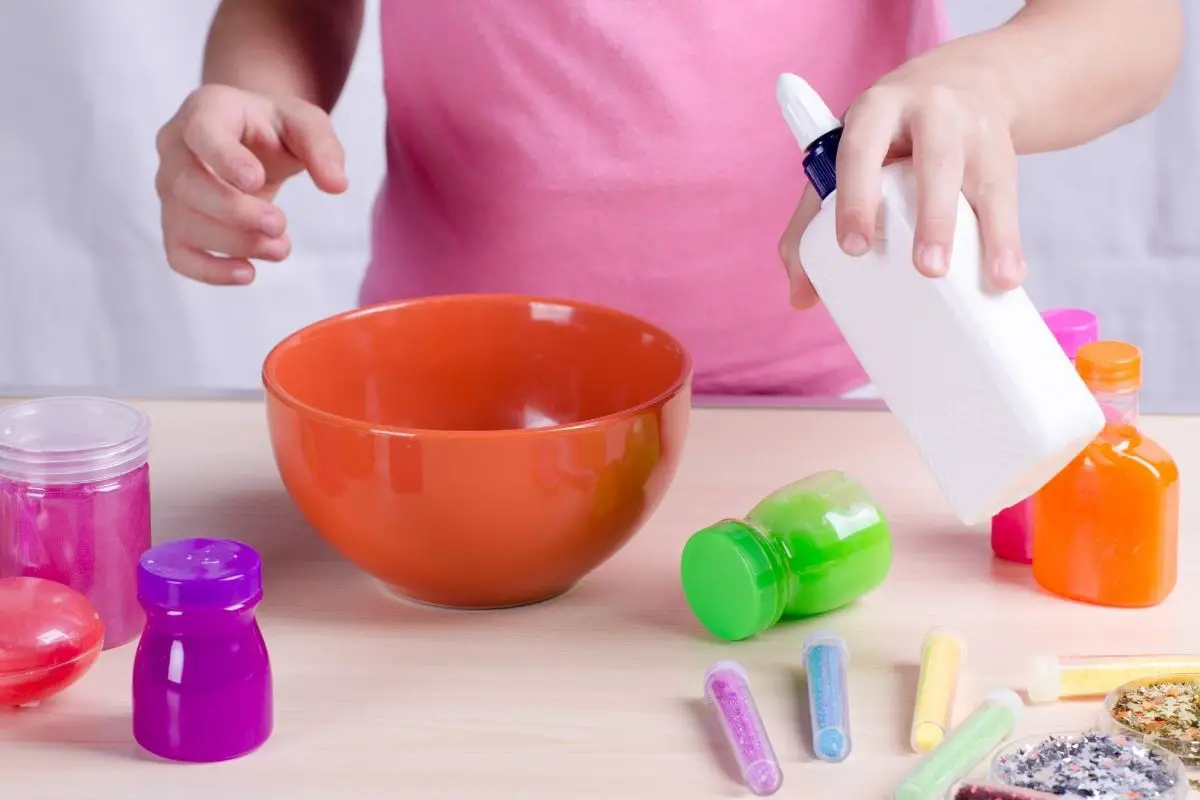
Step One – Pour Glue Into A Bowl
To begin, you will first need to pour 4 fl oz (120ml) of white school glue into a bowl.
Step Two – Stir In Food Coloring Of Your Choice
Stir in 2-3 drops of liquid food coloring to give your slime a nice color, as this can be more fun for children. You could choose the classic slime green color, or even choose your kids’ favorite color. It doesn’t matter.
If you’d prefer to skip this step, your slime will turn out plain white, which is why people tend to add the coloring.
Step Three – Add Your Shaving Cream To The Bowl
Once you have colored your slime, it’s now time to add 1 1/2 cups of shaving cream to the bowl.
For this step, you will need to ensure that you’re using traditional, foaming shaving cream as opposed to gel shaving cream.
Step Four – Stir The Mixture Until Well Combined
Once you have added the shaving cream to the bowl, you now need to stir the mixture with a spatula or spoon until it is well combined.
Step Five – Add Contact Saline Solution
Following this, you will need to stir in 2 1/2 tablespoons of contact saline solution that contains boric acid.
Slowly pour the saline solution into the bowl whilst you are continuously stirring.
Tip: Check the label to ensure that the saline solution contains boric acid. If it doesn’t, then your slime will not work. So this is essential.
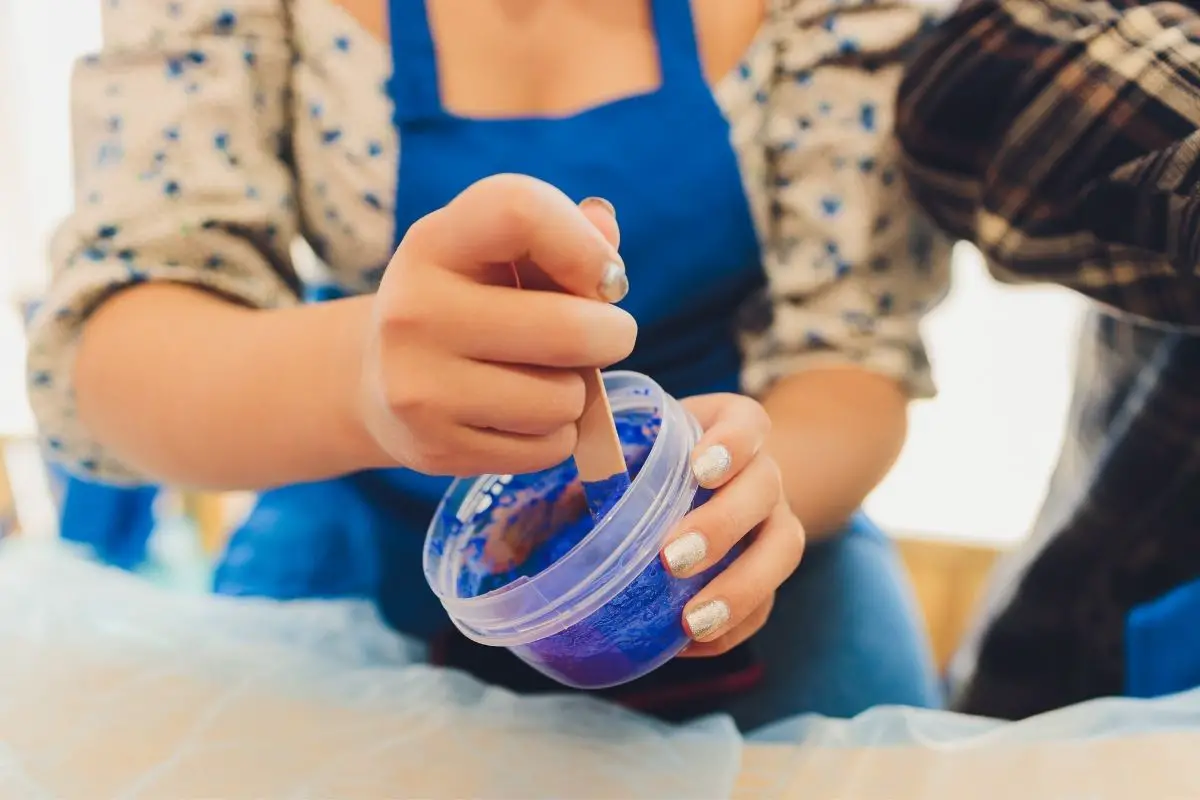
Step Six – Knead The Slime Until It’s Not Sticky
Following this, you will need to knead the slime until it is no longer sticky.
Knead the slime by stretching it out and squishing it together until it no longer sticks to your hands when you hold it.
Step Seven – Store The Slime In An Airtight Container
Last, but by no means least, you will need to store the slime in an airtight container ready for your kids to play with!
As the slime contains shaving cream, this particular slime recipe will only last for 1 to 2 days before it begins to dry out.
Enjoy!
Laundry Detergent & Baking Soda
Step One – Pour White Glue Into A Bowl
To begin, you will need to pour 4 fl oz of white school glue into a bowl.
Step Two – Stir In Liquid Laundry Detergent To The Bowl
Next, you will need to add around 2 1/2 tablespoons of laundry detergent to the bowl, however, how much you use will depend on the brand. Bearing this in mind, add 1/2 teaspoon of the detergent at a time until the glue turns into slime.
Step Three – Combine Baking Soda And Water To Make A Solution
In a separate cup, you will need to combine 1 teaspoon of baking soda and 1 tablespoon of water.
As a general rule of thumb to follow, the solution should look like cloudy water.
Step Four – Add Baking Soda Solution Until The Mixture Is No Longer Sticky
Following this, you will need to add 1 teaspoon of baking soda and add it into the slime.
Give the slime a thorough mix to ensure that everything is well combined, and repeat until the slime isn’t sticky.
Note: You might not end up using all of the baking soda solution, as this will largely depend on the laundry detergent that you are using. However, if you run out, you can easily make more.
Step Five – Knead The Slime For A Couple Of Minutes
Once the slime feels like the right consistency, it’s time to start kneading it.
You will need to knead the slime for a few minutes, so have patience and keep going if it doesn’t feel like it’s coming together.
Keep stretching it out, and repeat the kneading process until the slime no longer feels sticky to the touch.
Step Six – Keep The Slime In A Sealed Container
Once you have made the slime, you will need to keep it in a sealed container until you are ready to use it with your kids!
Generally speaking, this slime recipe will last for around 2 to 3 days.
However, after the third day, the slime will begin to dry out and will need to be thrown away. At this point, you can make another batch of slime for everyone to enjoy again!
How Long Does Homemade Slime Last?
The answer to this question entirely depends on the homemade slime recipe that you use!
Generally speaking, homemade slime recipes tend to dry out a lot quicker than commercial slimes.
On average, homemade slimes last for a few days. After this point, they begin to dry out and will need to be thrown away.
However, don’t despair by this short time frame. The good thing about making homemade slime is that once you’ve got the ingredients, you can easily whip up another batch once your batch has dried out.
This means that your children can enjoy making and playing with slime on a regular basis! After all, it’s such a good stimulation exercise and is so easy to make that it’s the perfect weekend activity.
In Summary
So, that’s how you make slime that’s less sticky!
As you can see from this article, making slime that is less sticky is fairly easy once you know how and have the right equipment. I hope this article has given you a better understanding of how to make slime that is less sticky.
Make sure that you keep your slime in an airtight container to prevent it from drying out before you have the chance to use it. If your slime does dry out, you can whip up another batch in no time with an easy recipe.
Good luck and have fun making slime with your kids!