This is a weekly edition of Make It Monday – subscribe for updates in bloglovin.
This is a really easy and simple tutorial to make a teething ring for your baby. The rope edges and wooden ring are great for a teething baby. The duo toned colors give it some interest- feel free to add more colors or string in beads like a dream catcher. In all it took about 10 minutes to make and costs only a couple bucks in materials.
MATERIALS
- wooden ring
- twine
INSTRUCTIONS
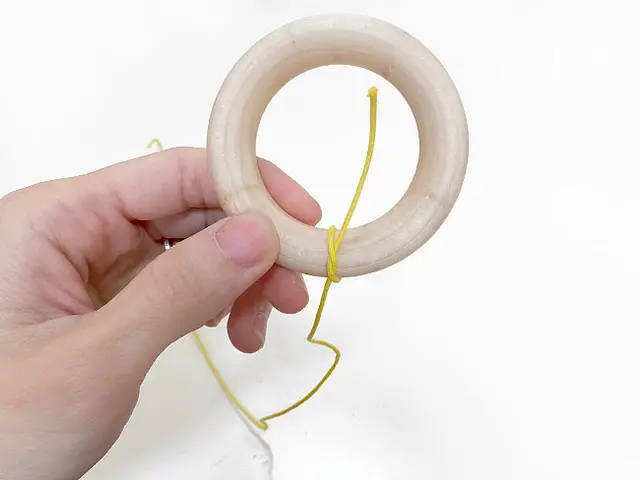
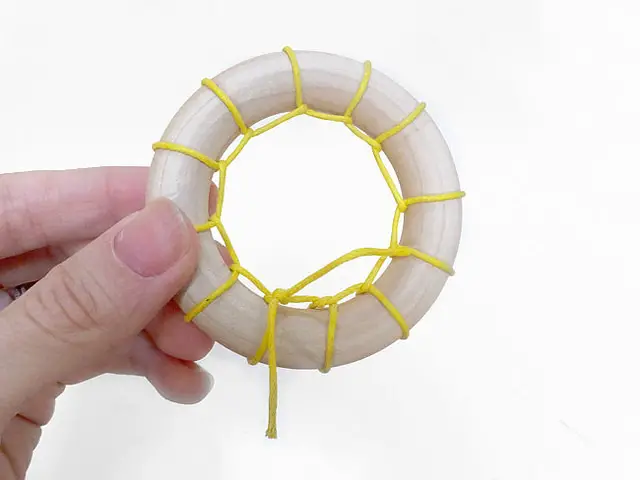
Tie a knot- turn that knot towards the inner ring.
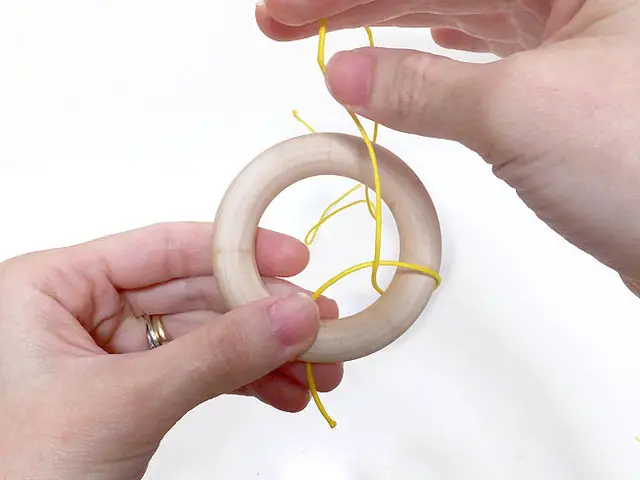
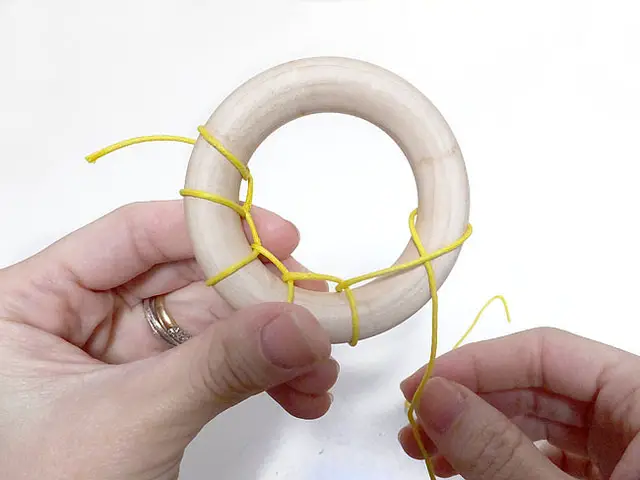
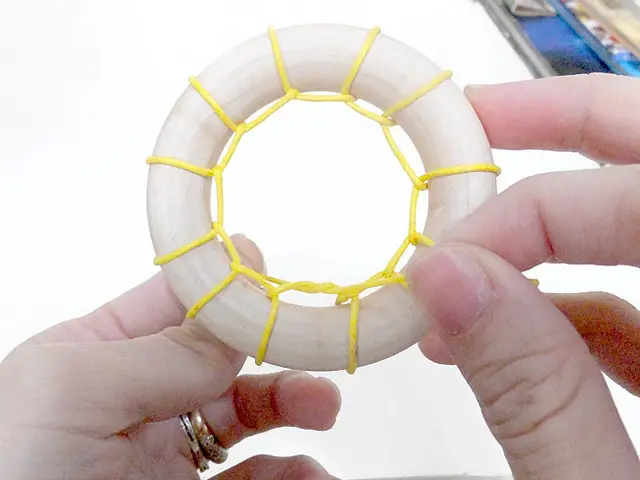
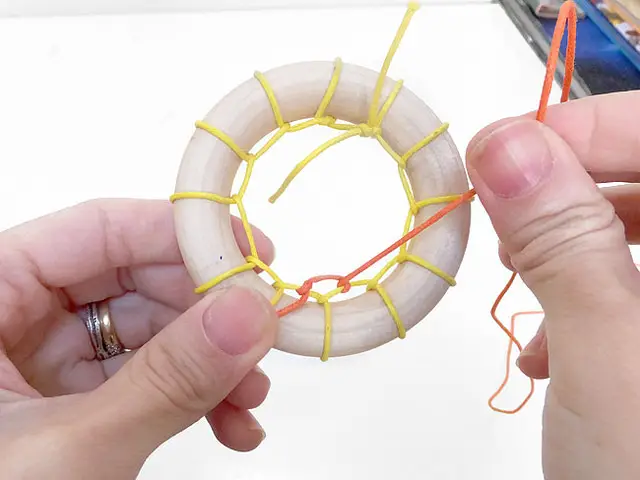
Wrap the twine towards you around the ring. When coming around to the front again, go under the loop. Pull tight. Keep doing this around the ring, evenly spaced.
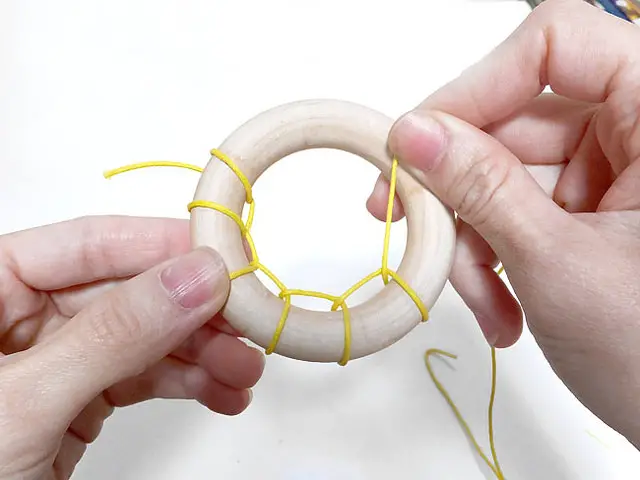
Make sure you pull the knots towards the center of the ring to form horizontal bars all along the inside.
When you come back to the beginning, tie your loose ends together to form the last horizontal bar.
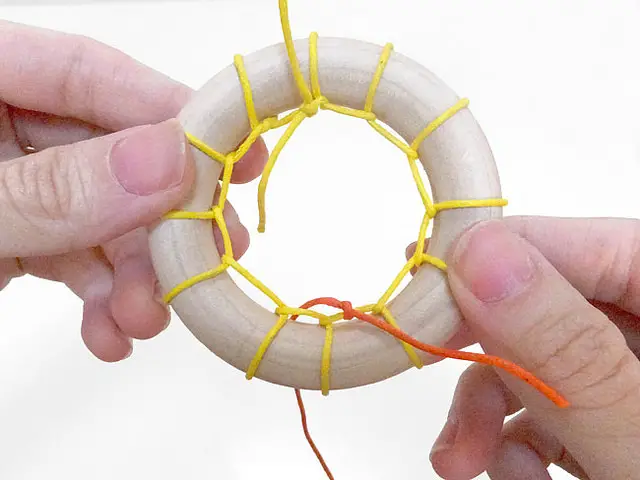
Start your second row and new piece of string (orange here) in the middle of a horizontal bar.
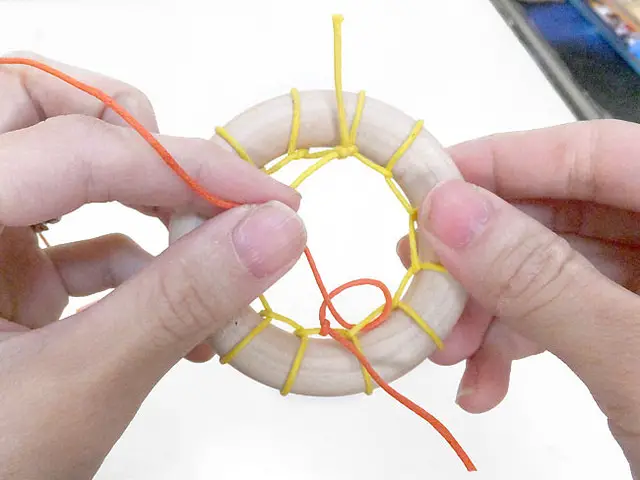
Repeat the same loop making and tying as you did earlier. Make sure you always loop around the MIDDLE of the horizontal bar.
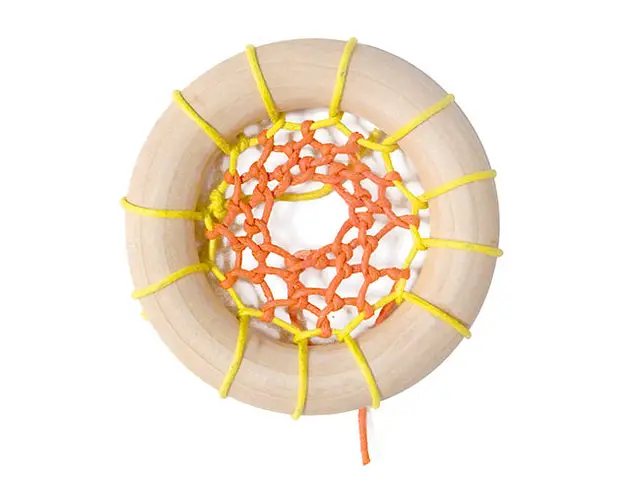
When you come back to the beginning, continue onto the next row of bars. I did about 3 rows of orange before tying the last knot. I personally preferred to keep my loose ends dangling for interest, but you can snip yours short if you like.
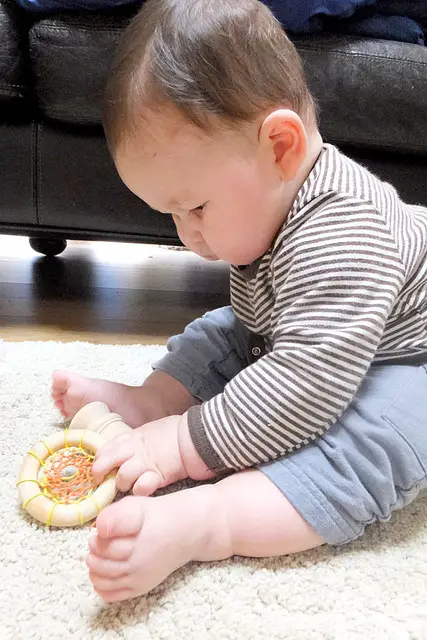
Noah enjoying his new teething ring. This was a lot of fun for me to make and I look forward to weaving more rings in different colors. Hope you enjoy it too!
Post or tag @kittybabylove if you use this tutorial- i’d love to see it!

